
One Thing you Should Check When your Computer Runs Low on Storage

More and more devices use solid state drives, or SSD drives, because they boot faster in addition to running cooler which is a byproduct of how different the technologies are between the two types of drives. Unfortunately, until the last couple of years, purchasing a SSD with as much storage as traditional hard drives was very expensive. As a result, many users ended up choosing a device with little more storage than they needed, providing very little for growth.
With time, storage needs grow and users can find themselves running low on storage. This post discusses the one thing you should check when your computer runs low on space before considering an upgrade or additional storage device.
One Thing you Should Check When your Computer Runs Low on Storage
There are lots of things you can do to increase storage space, including. but not limited to:
- Looking over files and removing those you no longer need.
- Consolidating files and folders and removing duplicated data - this frequently happens with photos when smart phones are backed up.
- Removing applications no longer being used.
- Emptying the Recycle Bin.
Beyond these, there is one service you should check that you may never have considered - the Windows System Restore service. The purpose of the System Restore service is to create snapshots of the system files, known as restore points, before making changes. This provides a way to revert back if something does not work as expected after those changes.
Some examples of when restore points can be triggered are:
- Before Windows updates and feature updates are installed.
- When backup software runs jobs.
- When endpoint protection software notices changes in behavior or potential threats.
- Manually by the user before installing software or making major changes to the device.
The benefit of restore points is that if something bad happens to the functionality of the device, you can revert back to a previous restore point which may remove whatever issue was caused by the changes. This process is not full-proof, but it can be a helpful tool when utilized correctly.
Unfortunately, if given access to too much storage, the System Restore service can cause a device to be low on storage. To prevent this from happening, check the amount of storage the System Restore service is allowed to use, and dial it back as necessary.
Customizing the System Restore settings
To check the System Restore settings on your device, follow these steps:
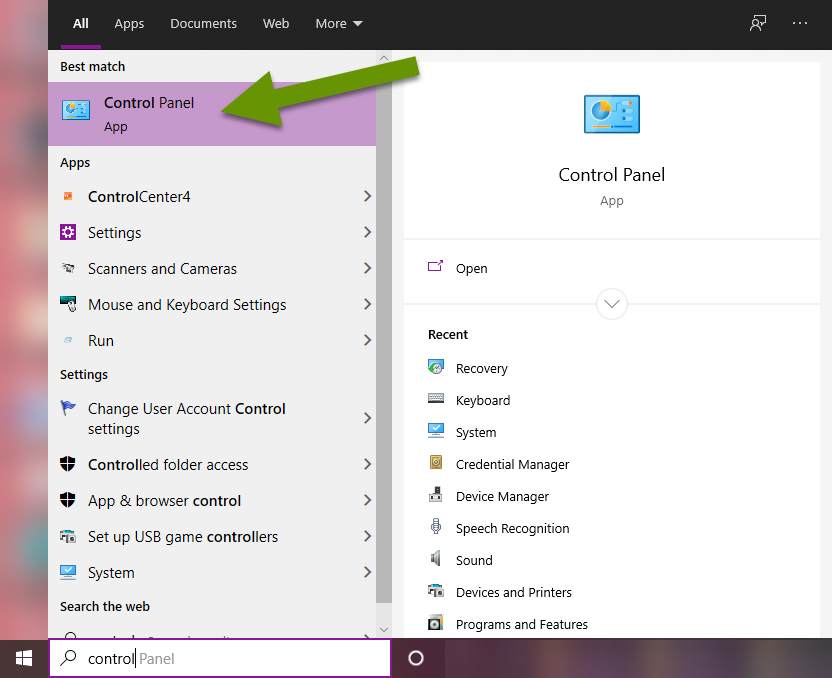
- Click in the search bar next to the Windows start button and type "Control Panel".
- Select the Control Panel app in the results.
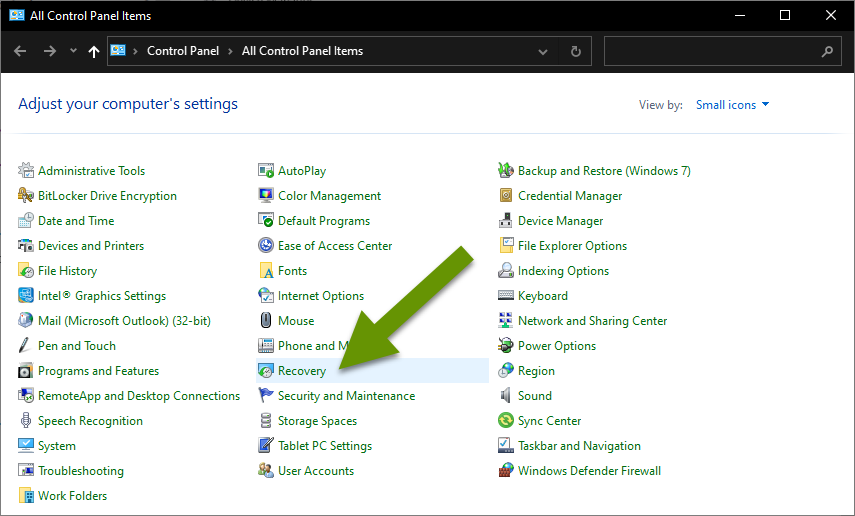
- In the Control Panel, click to open the "Recovery" settings.
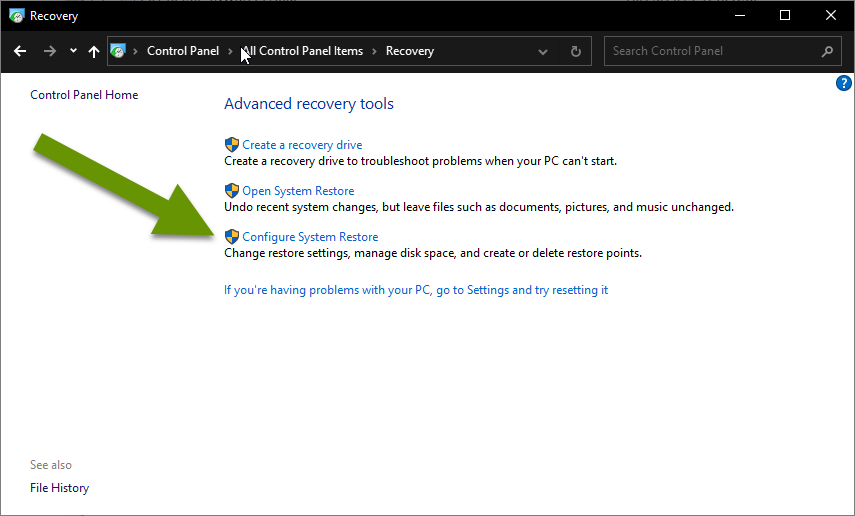
- In the Recovery window, click on "Configure System Restore".
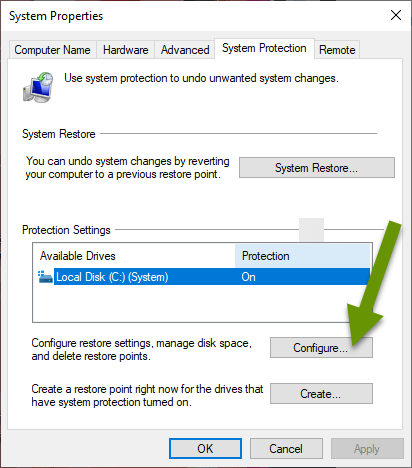
- In the System Properties window, verify the correct drive is selected, then click the "Configure..." button.
- Check to see what the max usage is set to for the drive. If it is set high, this could be what is causing your device to run out of storage.
- Adjust the slider to a percentage that will better meet your needs, and if applicable, free up vital storage space.
NOTE: Ask yourself if you make lots of changes to system files or does your system remain fairly constant? Answering this will help you best decide how much storage to dedicate to restore points. Keep in mind, the higher this number is set to, the less storage you have for your files. Allotting 30GB should be enough to cover what most situations would need, but typically you would not want the percentage to account for more than 25% of the drive if possible.
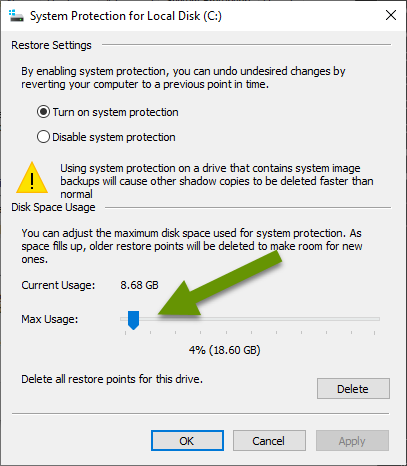
- Once the slider has been set, click "Apply" and then "OK" to save the settings.
- Click "OK" to close the System Properties box.
Creating a manual restore point
If you need to make a big change to your computer you may want to create a restore point before implementing those changes.
To manually create a restore point:
- Open the Control Panel and select "Recovery".
- Click "Configure System Restore".
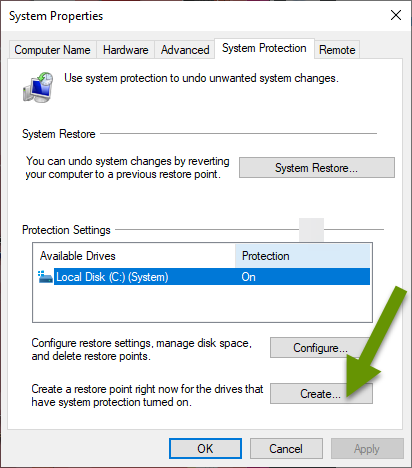
- In the System Properties box, click on "Create...". NOTE: System Restore must already be enabled on the drive where you want to create a restore point.
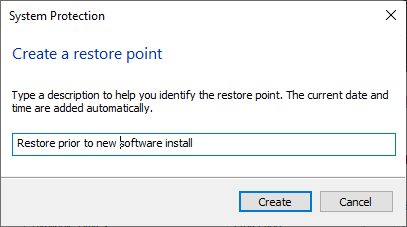
- When prompted, create a name for the restore point.
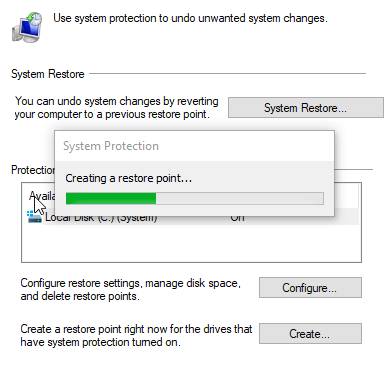
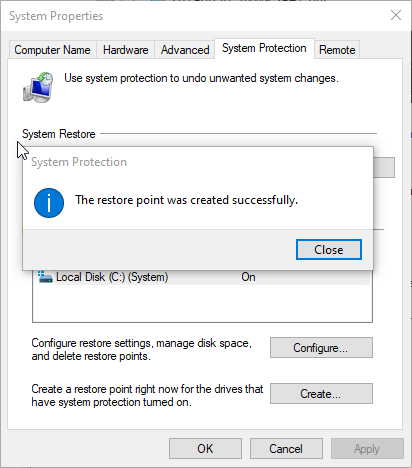
- The restore point process will begin and should typically finish within a few minutes.
- You will receive a message once the restore point has successfully been created.
- Open the Control Panel and select "Recovery".
- Click "Configure System Restore".
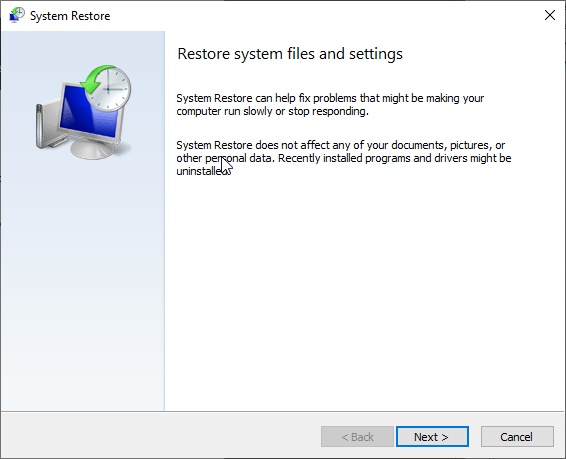
- In the System Properties box, click on "System Restore".
- In the System Restore window, click "Next".
- In the next window, select the restore point you wish to revert back to and click the "Next" button.
- In the next window, confirm the restore point and click the "Finish" button.
- This will start the restore process and you will be notified once the process has finished.
Reverting back to a system restore point
Before reverting back to a previous restore point, keep in mind system restore points are used to fix system files that include those critical for Windows and also drivers for hardware and other applications. The system restore service does not affect your local files or documents. If your issue is with files or documents, you will need to utilize whatever backup solution you are using.

The system restore process can be very helpful when dealing with updates that caused issues with applications or drivers. However, if the system restore service is allowed too much access, it can effectively run you out of storage! Customize this service so it is best balanced between providing protection and leaving enough storage for your files. System restore points are typically created automatically, but can be created manually and if you run into problems after updates or software installations, reverting back to a restore point may fix your issues.
As always, knowing how to use the available services to its best given your unique situation saves time, money and frustration!