
The Best Way to Link to Different Sections in a Word Document

When using Word to create a document that is long, has steps, or covers many areas of content, it is a good idea to create titles or headings that can be linked to sections in the document. The benefit of using links is it allows users to jump right to the information they need.
Using links to connect to information in a document is one of the easiest ways to navigate a document. Not only is it a time saver for the recipients of the document, but it can also be helpful for the document creator. This post discusses the best of two ways to add links in a Word document.
For a video demonstrating the same information:
The Best Way to Link to Different Sections in a Word Document
Linking a word, phrase, or title to the place in the document where that particular topic is discussed is a great way to organize a document. Unfortunately, linking content within the same Word document is limited to one of two ways:
- Headings
- Bookmarks
Of the two options, when you are working with bulleted lists of any kind, using bookmarks to link sections is far easier than linking headings. To see why bookmarks are better, you first need to understand how using headings works.
Headings
Using headings simply means linking titles to content in another area of the document that has been formatted into a heading style. Only content that has been styled as a heading will be available to link to when creating links.
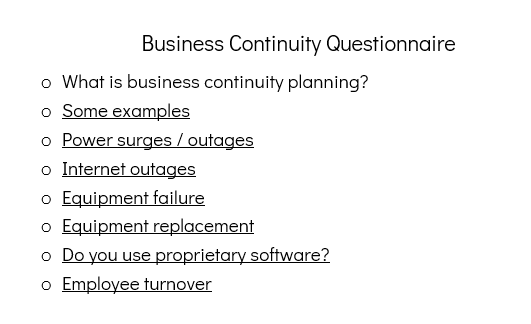
In this example we have a document with a page of titles that need to be linked to sections in the document that match these titles. Once we style the content titles within the document as headings, we can link to them from the first page.
To create headings that can be linked to:
- Select the title or text in the document that represents the desired link destination.
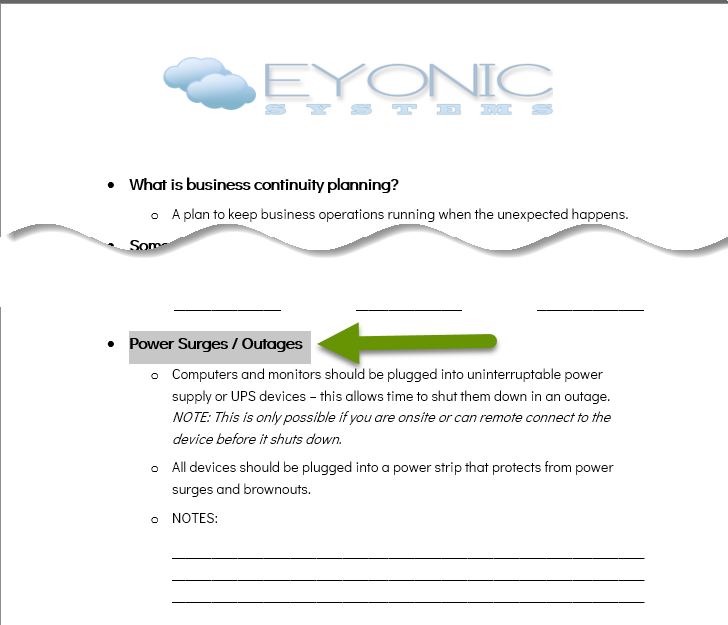
- On the Home tab, click any of the Heading styles available in the Styles section to change the formatting of the text.
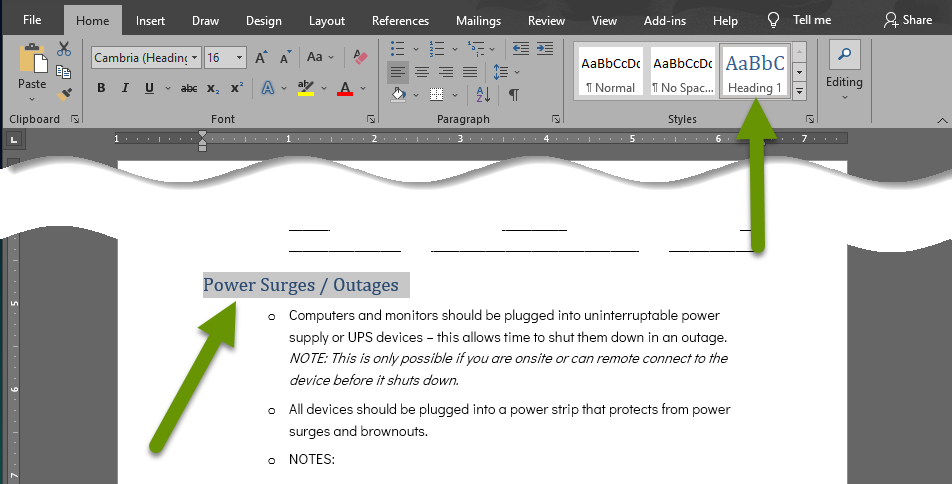
- With the text changed to a heading, you will notice much of its formatting has changed. Beyond that, it no longer has a bullet and is not part of the list.
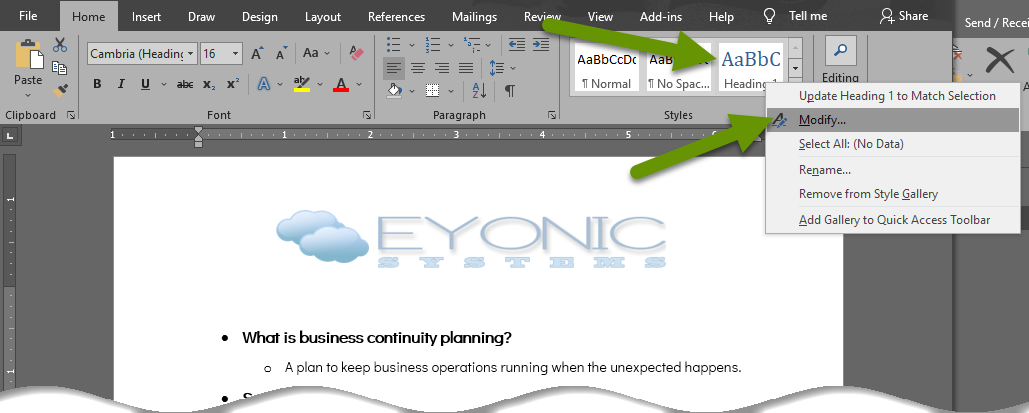
NOTE: The types of changes made by formatting content as a heading - the font size, type, color, etc., can be adjusted in many ways. These changes fall outside the scope of this post because they do not affect linking the text beyond the fact that the text has to be formatted as a heading. However, if you want to see what can be modified, right-click the heading style box and select "Modify" in the pop-up window.
Here is a comparison of the original content, still in list form, as well as the same content changed to a heading, where the list formatting was lost.

The longer the document you are working with, the more drastic having an element be removed from a list can be. Sometimes this can also affect sub-lists and you could spend a great deal of time chasing this down and trying to get your list righted. Luckily, there is a better way to link titles to content in a document when that content is part of any list.
Bookmarks
While styling content as a heading so it can be linked to, adding a bookmark that can be linked to does not change the content in any way. This means bookmarks do not break any lists the content is a part of either.
To create bookmarks that can be linked to:
- Click in the document next to content that will be the destination of a link you are going to create.
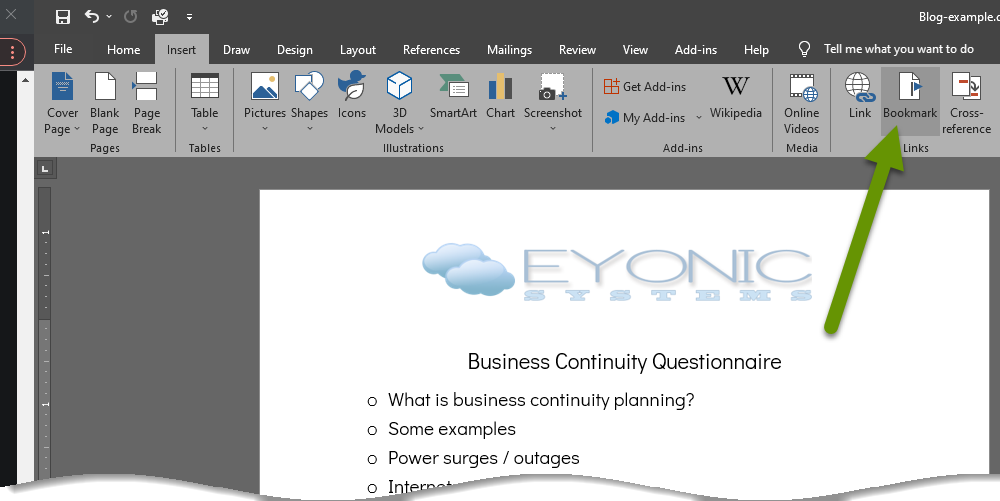
- Click on the "Insert" tab and click "Bookmark" in the Links section.
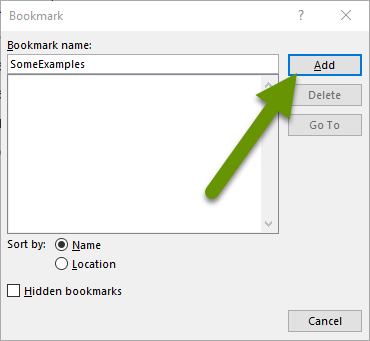
- Enter a name for the bookmark. This can be as specific or as vague as you want, but keep in mind you will likely be making several bookmarks and will want to know what to link together after creating them all. NOTE: Bookmarks do not allow you to enter spaces in their names. If you add a space, the Add button will be disabled until you remove it.
- Once the bookmark has been named, click the "Add" button.
- Continue creating bookmarks by moving to a new location in the document and following the same insert bookmark process.
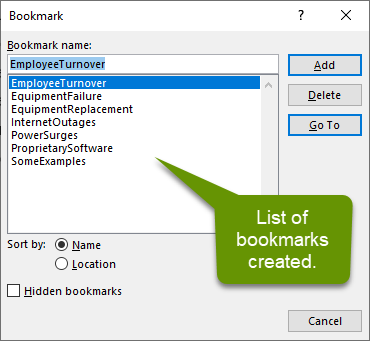
NOTE: Setting the bookmarks to sort by Name is often more effective in long documents where you are searching for a name that matches the title where sorting by Location may make more sense in shorter documents. Click the radio button next to whichever sort type best suits your needs, knowing you can change this at any time.
To link titles to bookmarks:
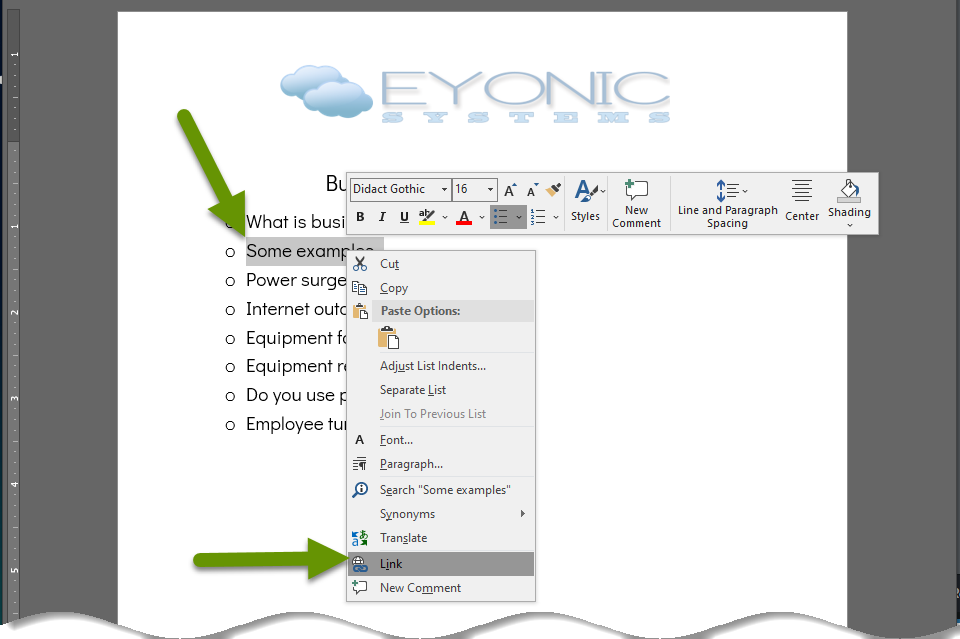
- Highlight the content in the document, usually the first page, where you want to create the link and right-click on the highlighted text.
- Select "Link" from the bottom of the menu.
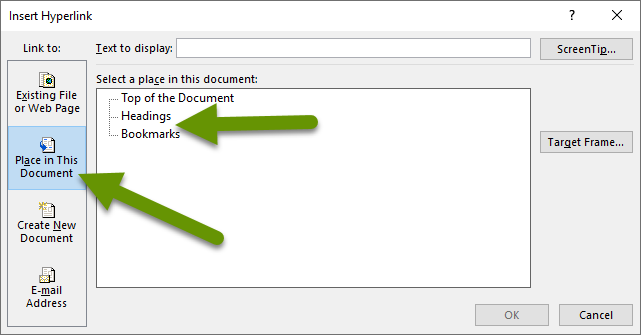
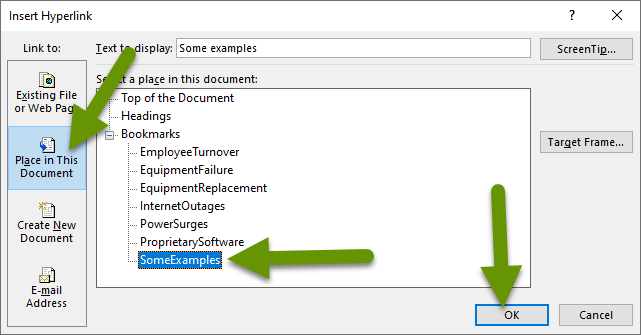
- In the Insert Hyperlink box, click on the "Place in This Document" tab in the left pane.
- Click on the corresponding bookmark under the heading "Select a place in this document:" and click the "OK" button.
- Repeat the process of highlighting titles and linking them to the appropriate bookmark until all links have been created.
- If desired, change the blue font or underlining applied to the linked titles.
Anyone accessing this document can press the Ctrl key and click on a link to go directly to the link destination. Additionally, if the document is saved as a .pdf, users can click on any link and go directly to the destination in the document.
Adding titles or a table of contents to a large document is a great way to make the information in it more accessible. There are two ways to create links within documents: using headings and bookmarks. When you have a document with items in a list, using bookmarks is a much more efficient way to create links to content. Once links are created, they can be used in Word or .pdf format.
As always, there is often more than one way to accomplish the same thing, but understanding what makes one way better than another can save a lot of time and frustration!