
How to Use Nested IF Statements in Excel to Automate Calculations

Microsoft Excel is a spreadsheet application that is capable of doing so many different types of things to values and data. Even if you use Excel frequently, there are still probably hundreds of things you have yet to learn how to do. This often happens with software as we learn what we need to do and move on.
One thing that makes Excel extremely valuable is that even when you don't know half of what it can do, it can still be a super effective tool. Some software applications, such as Photoshop, can be overwhelming when you are unfamiliar with them even if you are only trying to do a simple thing. Excel is powerful like Photoshop, but it is more approachable for people learning to use it.
This post discusses how to use nested IF statements to automate calculations for different types of data.
How to Use Nested IF Statements in Excel to Automate Calculations
IF statements operate much like functions though they also have some major differences. While functions can be complex, with multiple steps processing data, IF statements go even further. An IF statement can take data, compare it to certain criteria, then funnel the data to the appropriate function before delivering output.
In this post we will use the example of selling items online and charging certain shipping rates based on the total sale price. We can use an IF statement to automatically calculate a flat rate price for items under a certain price as well as a percentage for larger orders.
Specifically, the steps below will demonstrate how to set an IF statement to assign a flat rate shipping cost of $7.99 for all orders under $100, a flat rate of $15.99 for orders totaling between $100 - $275, and 6% for all orders over $275. Keep in mind both the numbers representing the flat rate and percentage shipping costs, as well as the limits set for each, can be changed to anything that suits your particular needs. This is simply a general example to show you how an IF statement works and one of the many ways they can benefit you.
Follow the steps below to do this:
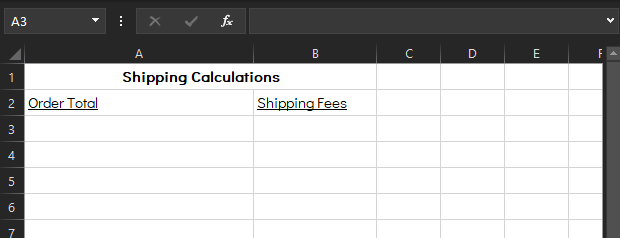
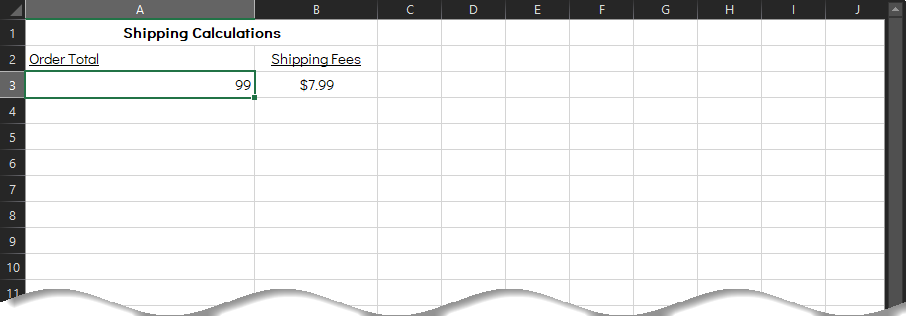
- Open Excel and create headings for as many columns as desired. In this example, to keep it simplified, I have created two columns - one for the cost of an order and one for the associated shipping fees our IF statement will calculate for us.
- Click into the cell where you want to place the IF statement. Click the fx button above the spreadsheet. This will automatially enter an equals sign (=) into the cell and bring up the Insert Function box.
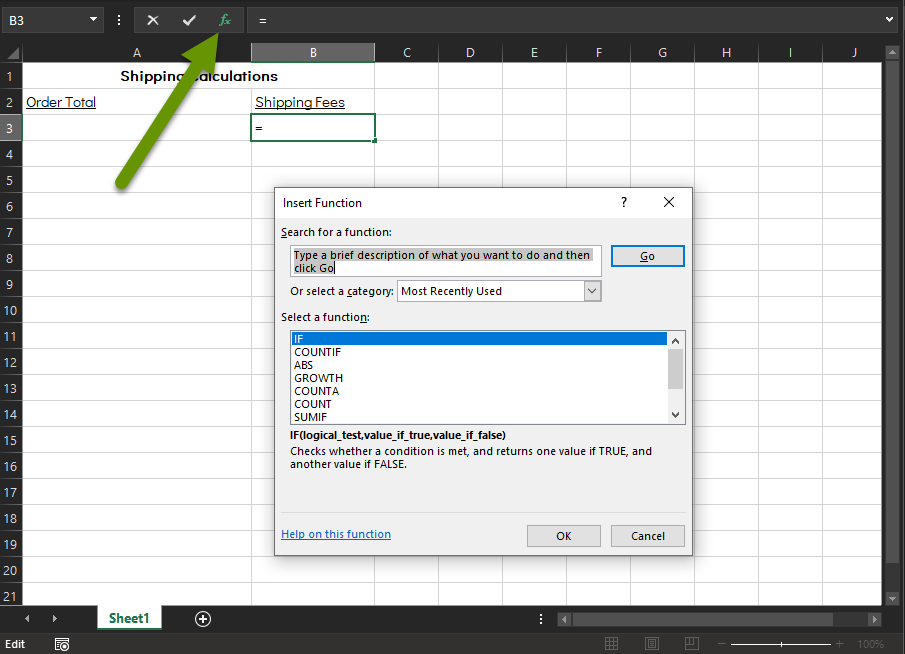
In my example above, the IF statement is in my history, but your results will vary based on what you have used in the past. If the IF function is not listed in the box under "Select a function:", follow these steps to search for it:
- Type "IF" in the box at the top under "Search for a function:" and click the "Go" button to search.
- Click on "IF" in the box under "Select a function:" and click the "OK" button.

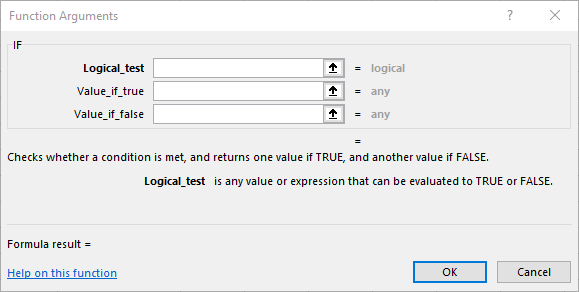
Once the IF function has been selected, you will be prompted with the Function Arguments box.
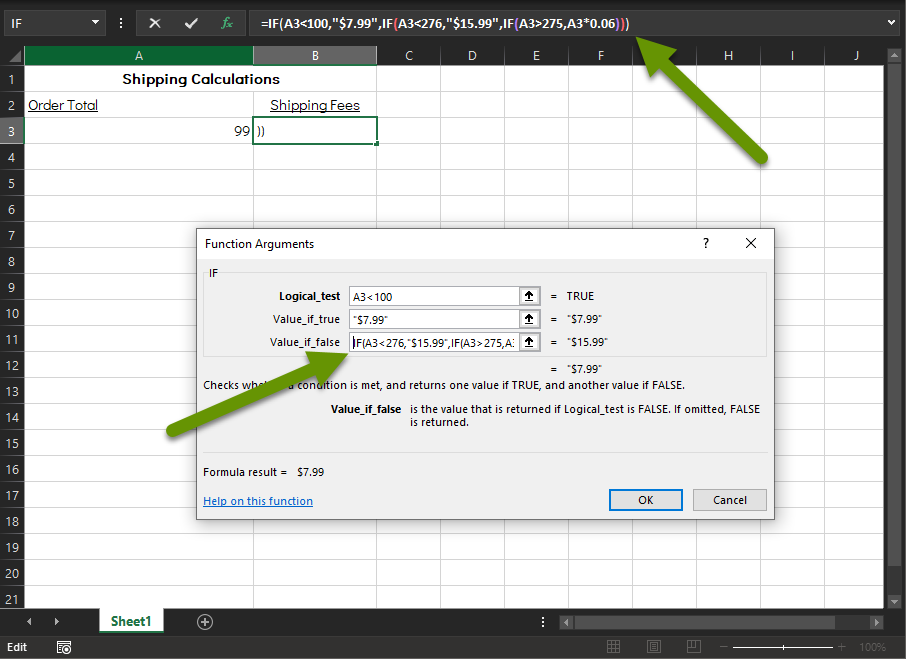
- From here, type the first parameter into the "Logical_test" box. In our example, this would be A3<100 and "$7.99" in the box next to "Value_if_true". Excel reads this as if the order total placed in cell A3 is less than 100, the value returned in cell A4 where the formula is should be $7.99.
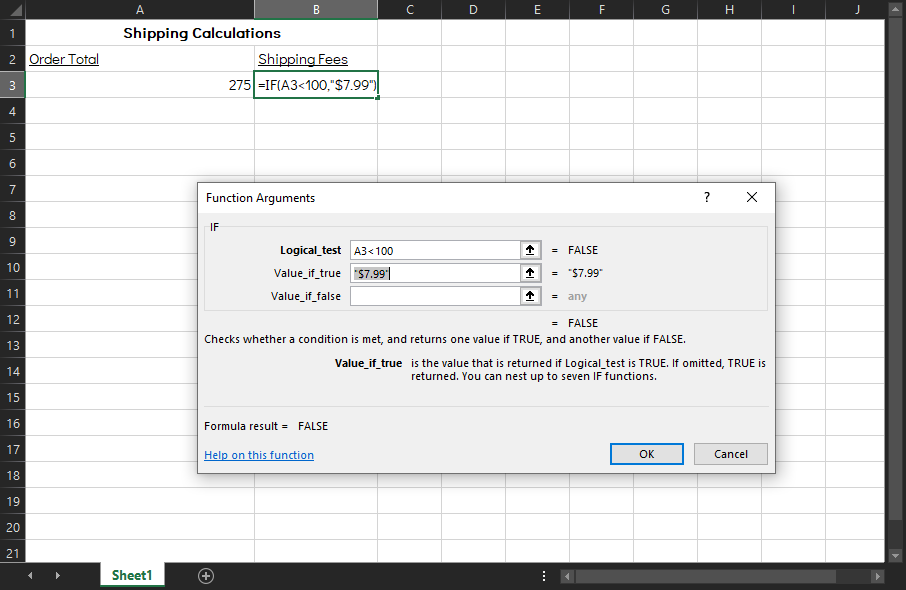
This is only one portion of the values we want to return, but if we type a number that falls within the criteria entered so far, we will get the correct result.
Now we simply need to add additional IF statements, in a nested format, so that the order totals can be calculated and present our desired output, regardless of the amount entered into the order total column.
- In the Function Arguments box, click in the "Value_if_false" box. NOTE: These formulas can also be typed into the box above the cells next to the function button you clicked earlier. Just pay close attention to the syntax which is shown in the image examples below.
- Continuing with our example, we are going to type in the next IF statement. For our example, our next criteria is to charge $15.99 for shipping on orders that total between $100 and $275. To do this, we type IF(A3<276,"$15.99",. This is read by Excel as "If the value in cell A3 is less than 276, output $15.99 in the cell where the formula exists". If this were the end of our IF statements, we would close the parenthesis. However, in our case we have one more criteria to consider so we end with a comma instead.
- To include our shipping rates for orders totaling over $275, we add the following IF statement: IF(A3>275,A3*.06)). This is read by Excel as "If the value in cell A3 is greater than $275, multiple the value by 6% and enter the result in the cell where the formula exists". There are two end parenthesis to match the two IF statements in that box. NOTE: In the image below you will see three parenthesis ending the IF statement in the box next to where you started the function. This is because all the IF statements are listed in a row together.
Now with all the criteria entered, when you enter a value in the order total box, the appropriate shipping value is calculated in the Shipping Fees cell next to it.
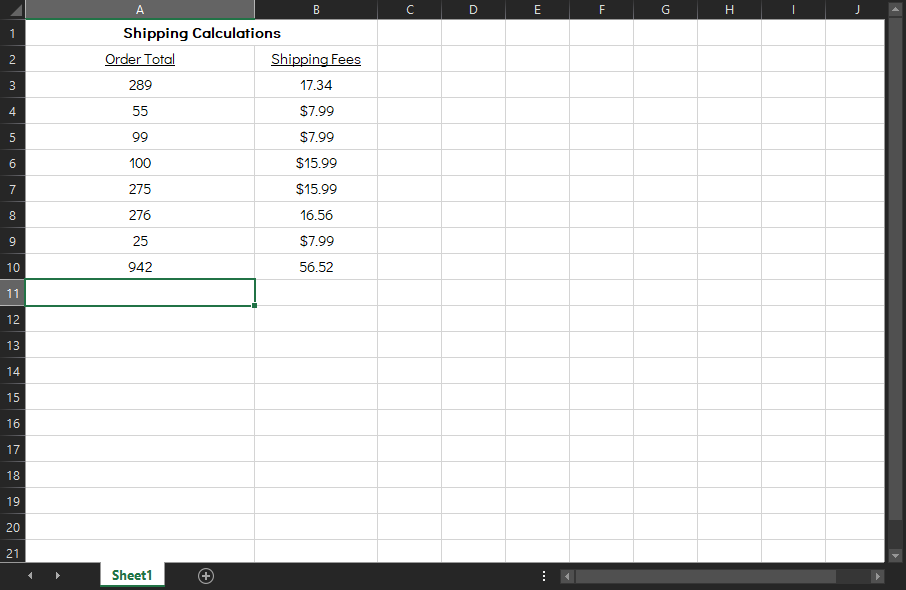
Excel is a very powerful tool because it can save you lots of time. However, it takes an understanding of how the application works and some planning to properly set up a spreadsheet before this happens. The first step is figuring out what criteria you have. This will help you create the logical statements to process the values. Always check your break points in values to be sure they are working as expected. In our example above, you can see I checked the following values for this reason: 99, 100, 275, 276 in addition to various other numbers.
As always, taking time to do the planning will save you a great deal of time later!