
How to Remove Sound & Modify Video Speeds Using Camtasia

Video can be a great way to share information because it allows you to show someone else what you are trying to explain, how to accomplish something specific, how to build something, or just share information in a way where people can see what you are doing. However, editing videos so users understand the focus of what you are trying to share is an important step. Two ways to best accomplish this is to remove sounds from areas where it is not needed, and to modify the video speed in relevant areas.
This post discusses how to remove sound from certain areas in the video as well as how to modify video speeds using Camtasia.
How to Remove Sound & Modify Video Speeds Using Camtasia
Videos can be extremely effective tools for learning, training, demonstrating, and even sharing visual information or items with others. Creating videos does not take very long, but editing them so they can be more useful is important and can take time. Luckily, there are easy ways to remove sound/audio and modify the video speed to better represent the information you are sharing.
While editing a video in Camtasia, it is fairly easy to remove sound from a particular clip or to modify the video speed in any clip. First, you will want to start by defining what section in the video you want to either remove sound from, or modify the video speed.
A clip is a portion of the video within the larger video that you have created. The clip can begin or end at any place, but it is defined as only being a portion of the entire video. Creating clips within a larger video allows you to apply modifications to just those sections of the video, such as removing the audio and modifying the video speed.
Creating a clip
- Open Camtasia and add a video into the Media Bin.
- Once the video has been loaded into Camtasia, drag the video to Track 1.
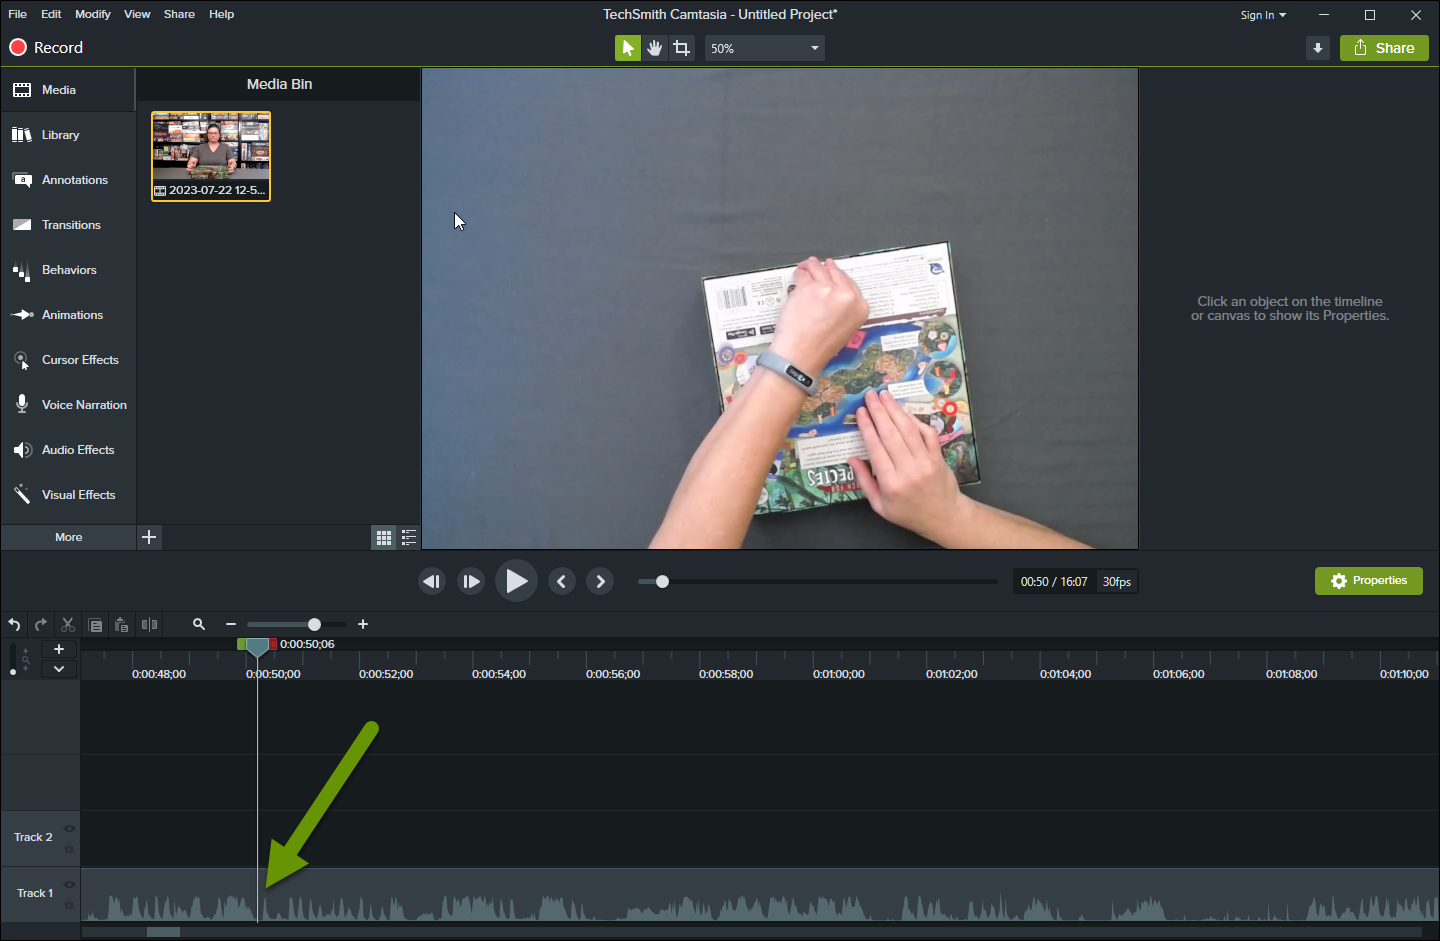
- Find a location in the video where you want to either remove the audio or modify the video speed.
- Make sure the video tracker is stopped on the location in the video where you want to start your clip.
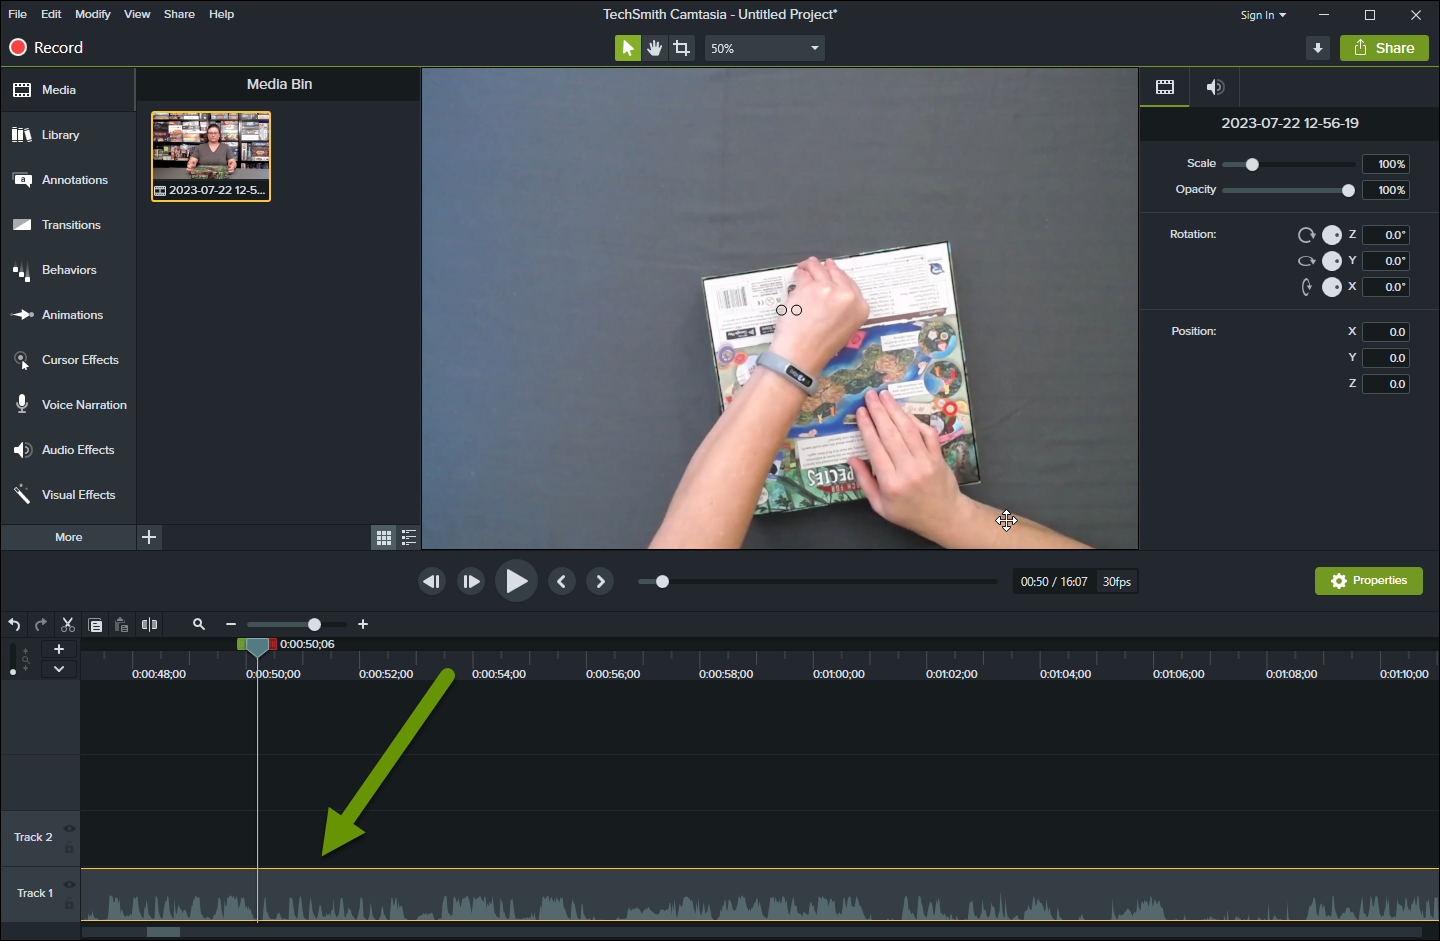
- Click on the video in the track to highlight it. Once selected, the video will be highlighted in yellow to show it is active. This step is required to be able to clip the video.
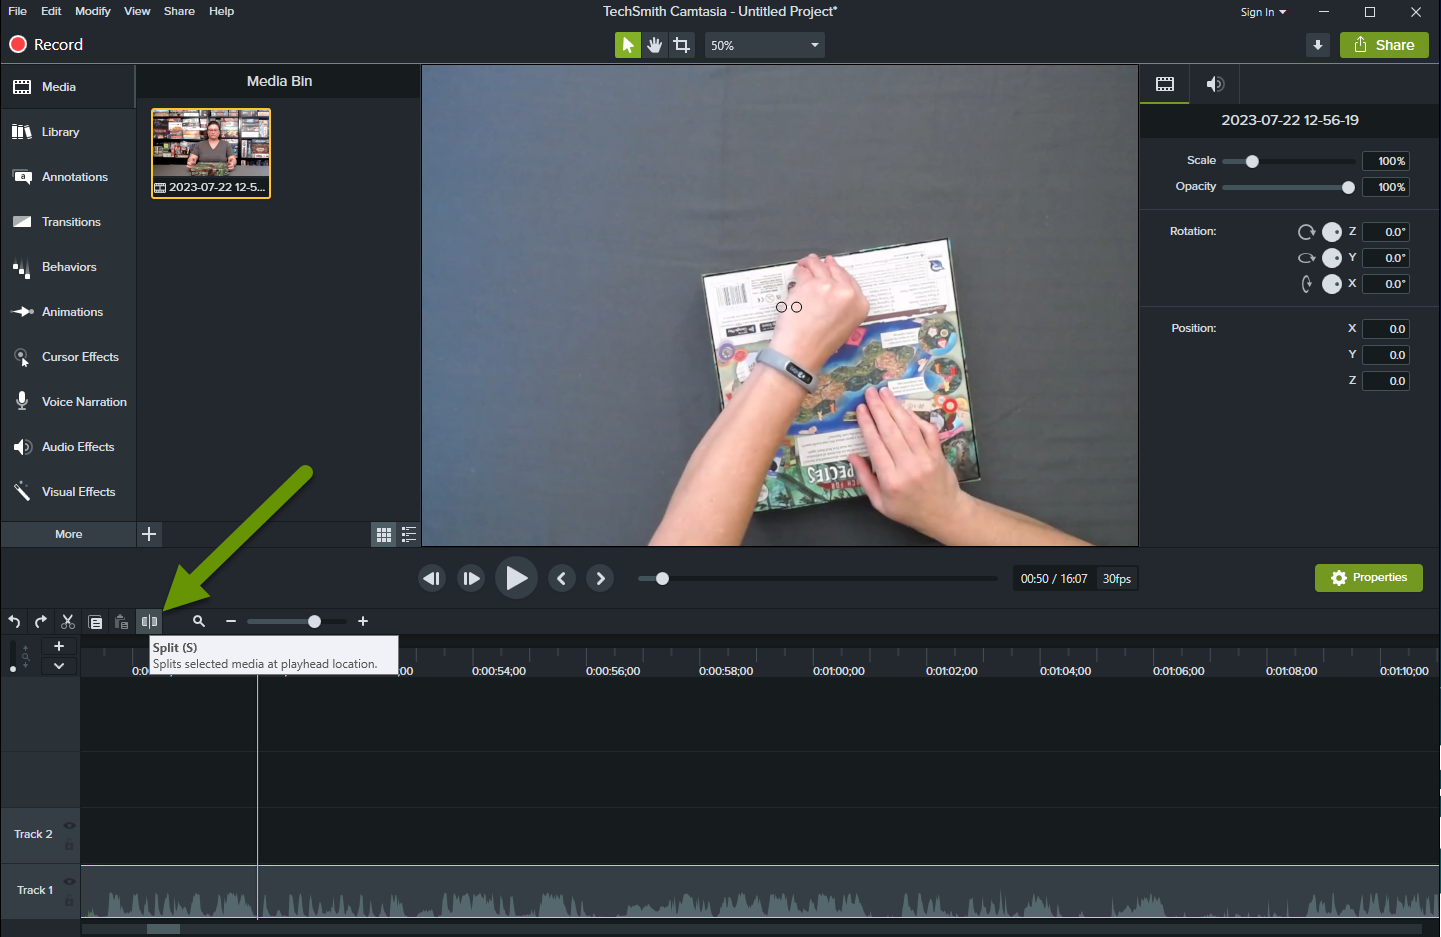
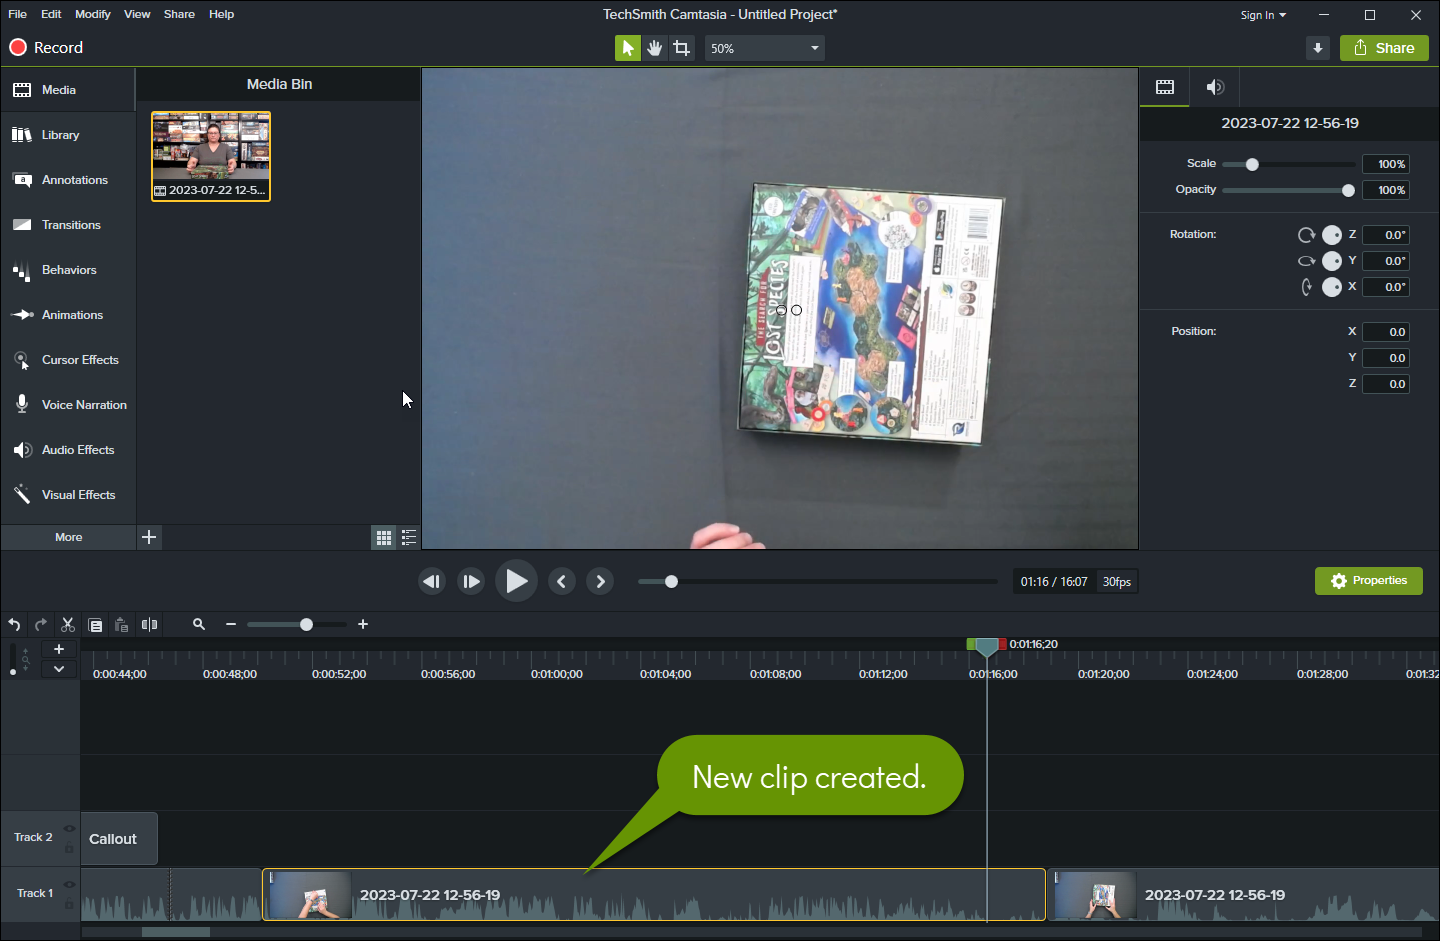
- With the video highlighted, click on the split button.
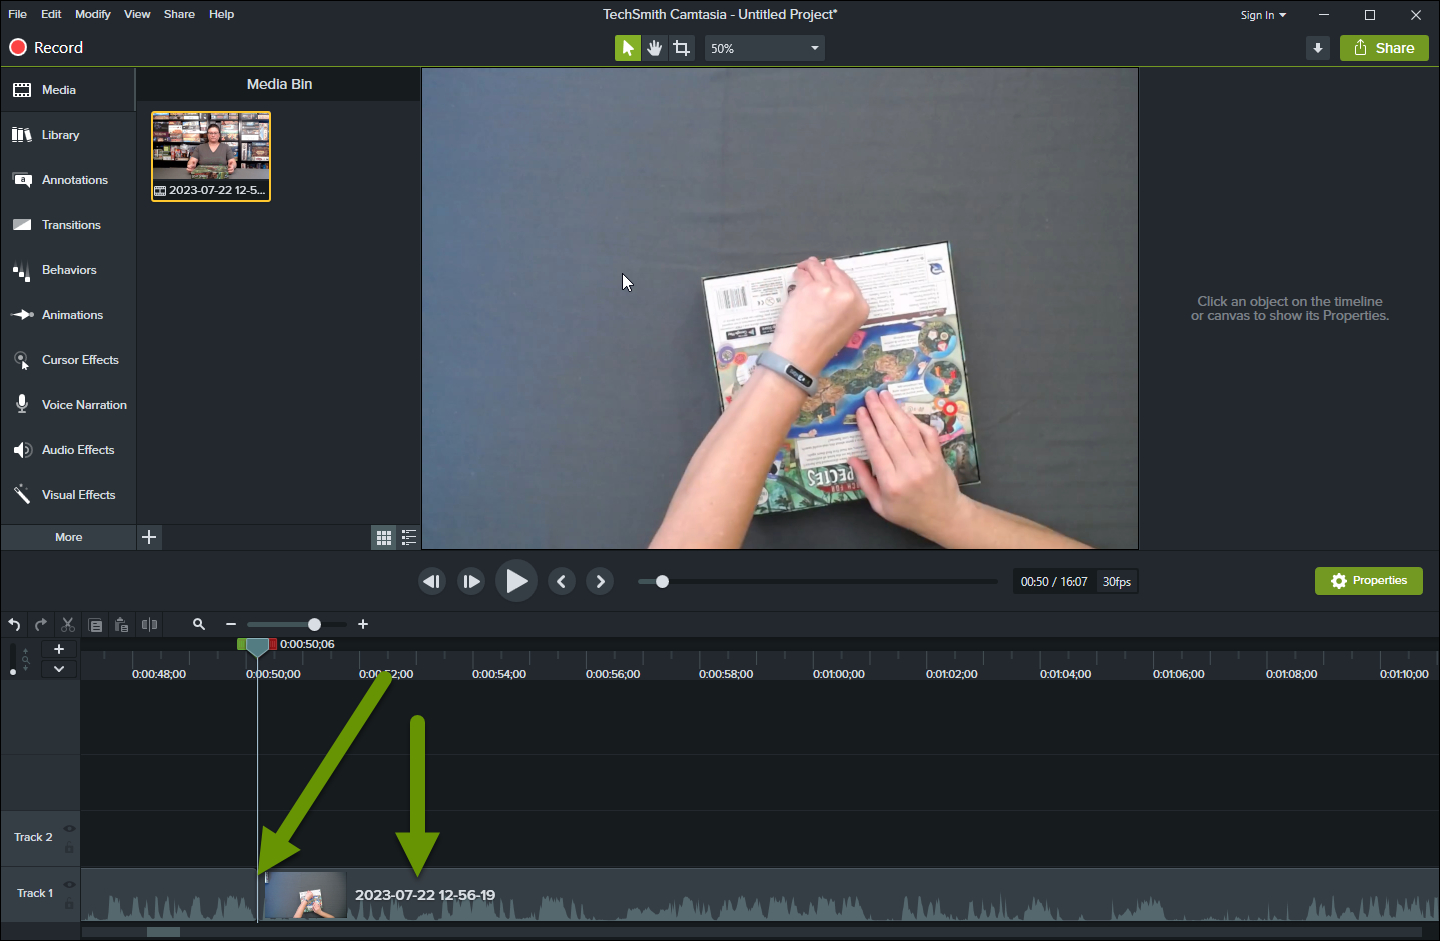
This will put a line between the two sections in the video and effectively split them apart. The easiest way to confirm this is by looking for the name of the video in the newly separated section.
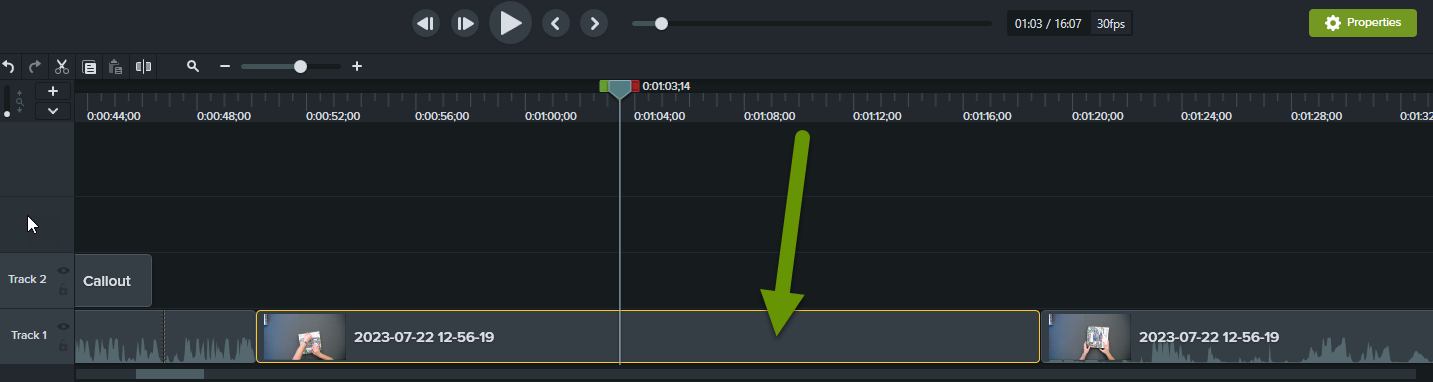
- Jump to the section in the video where you want the clip to end.
- Click on the video if it is not already highlighted and the click the split button again.
Removing the sound/audio from a clip
Removing the audio from a clip can be helpful anytime sound was picked up that you don't want to include, but where you do not want to remove the video portion.
- With a clip created, click on the clip you want to remove the sound from.
- Right-click on the clip and select "Silence Audio", or use the keyboard shortcut Shift+S.
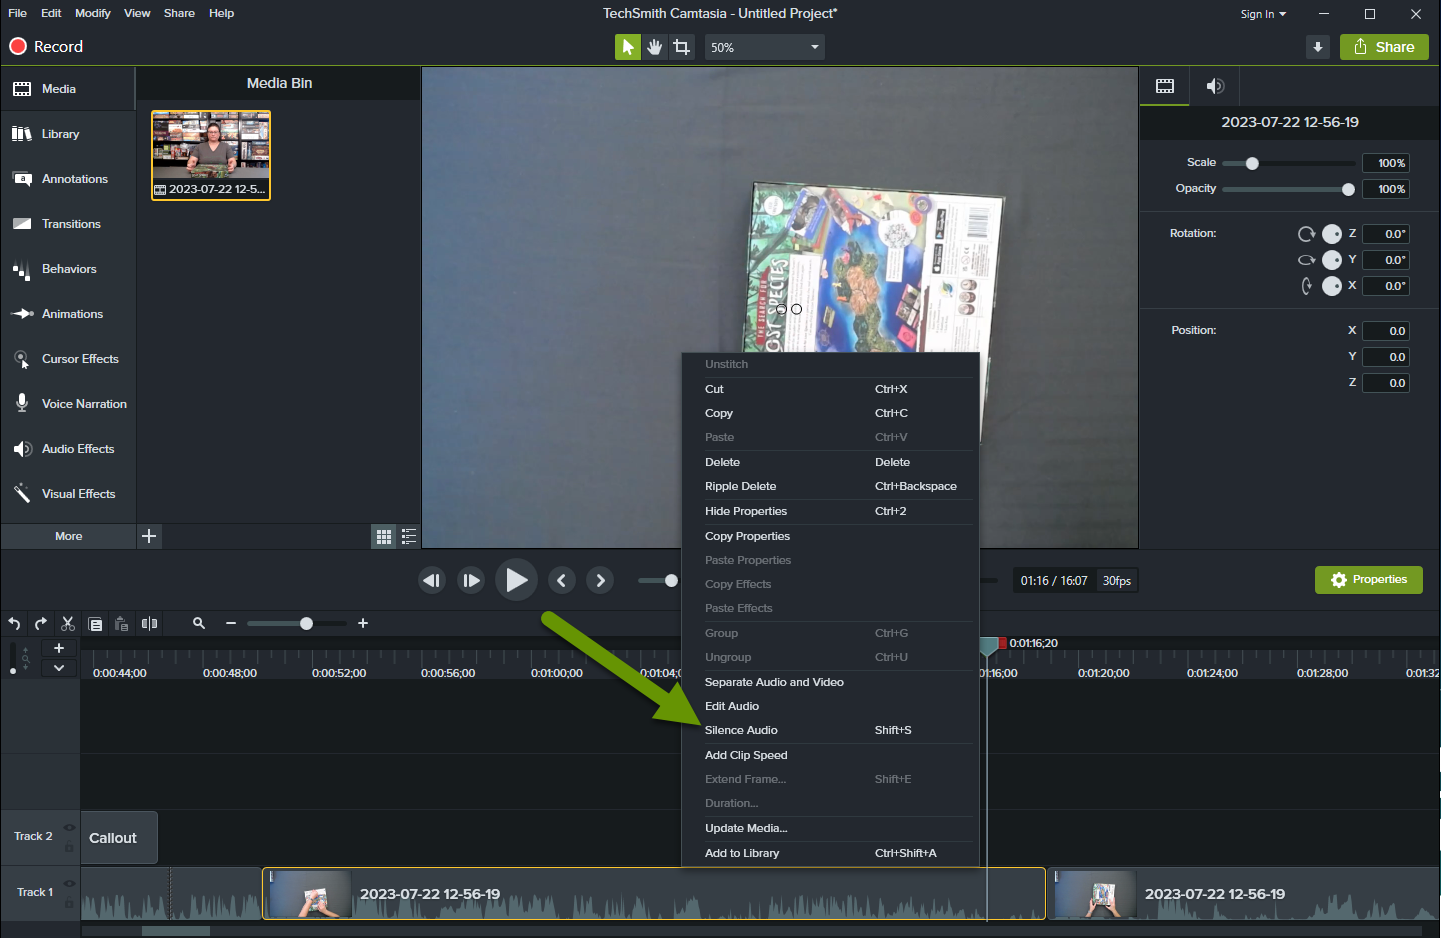
Once this has been done, you can visually see the audio has been silenced.
NOTE: You can also separate the audio and video or edit the audio by choosing these from the pop-up menu.
Modifying the video speed
Modifying the video speed can be helpful for many reasons, including slowing down to show something really specific or speeding up items that do not need to be in real time.
- With a clip created click on the clip where you want to modify the video speed.
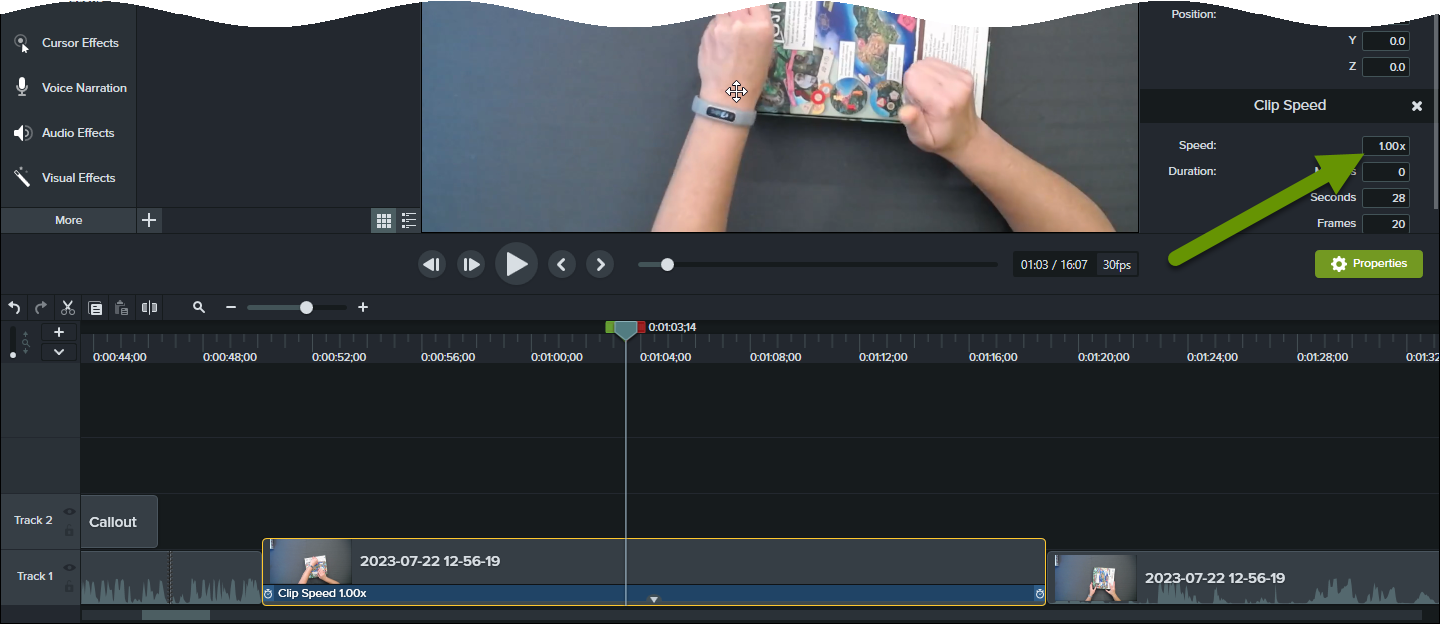
- Right-click on the clip and select "Add Clip Speed".
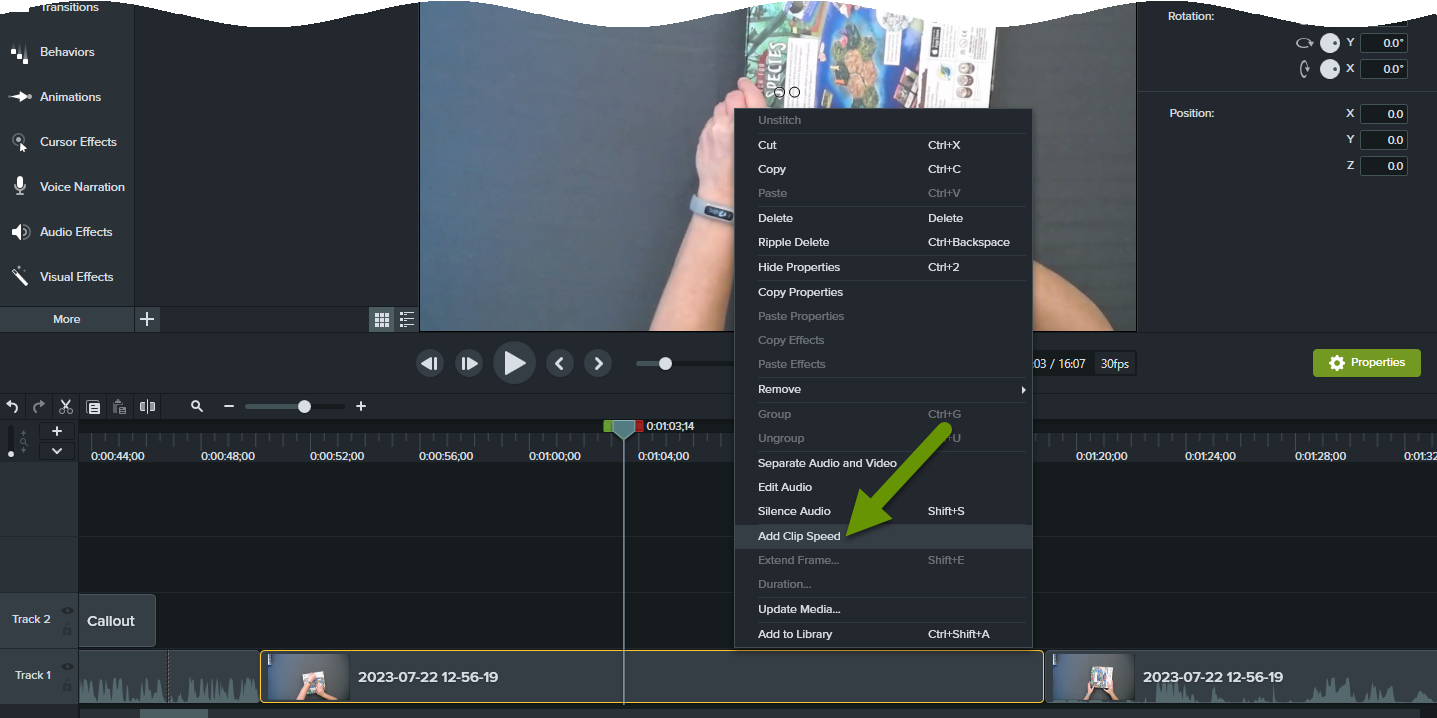
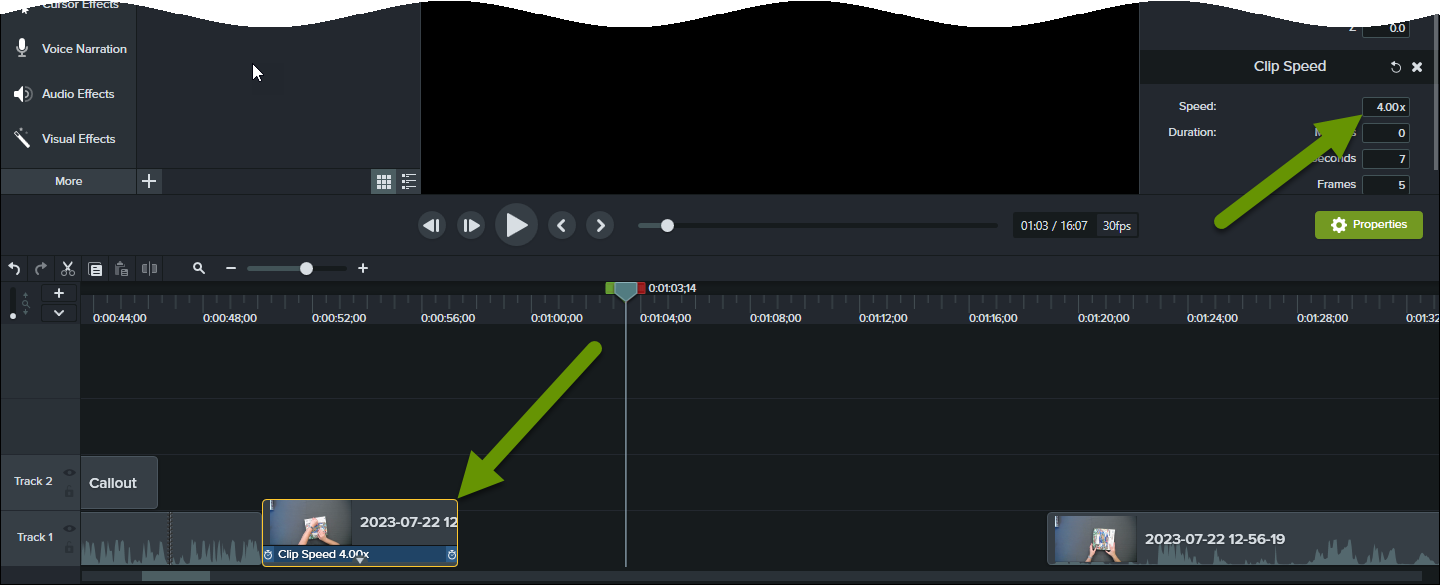
- This brings up the clip speed menu. Enter a clip speed into the box next to "Speed:". You can choose to increase the speed by adding a higher number, or slowing the video speed beyond the original speed by entering a number less than 1.
Once the clip speed has been updated, the video clip will represent how much time it represents on the track.
Once you have adjusted a video clip speed, it is always a good idea to watch the clip and verify the speed fits the need for why you changed the video speed.
Videos can be a great way to share content including demonstrating how to do certain tasks, or even talk about something you are knowledgeable about. Editing videos to remove unnecessary audio, and/or modify the speed of certain clips within the video, can better represent the content you most want users to see.
As always, the more careful you are with the content, the more likely users will understand what you are trying to explain!