
How to Remove Images from Emails You Want to Print

While many people and businesses have done their best to go paperless, and save documentation digitally rather than printing them on paper, there are times when this is not possible. Email also falls in this category as often times information in an email is the backup to why a certain decision was made. Unfortunately, emails often include embedded images and irrelevant information that is not needed. This is especially true of order confirmation emails that typically include a company logo as well as other product images and images of the items you ordered.
This post discusses how you can remove unnecessary items, such as images, from an email before printing it to save time and resources.
How to Remove Images from Emails You Want to Print
Using Webmail
To edit items out of an email when using webmail:
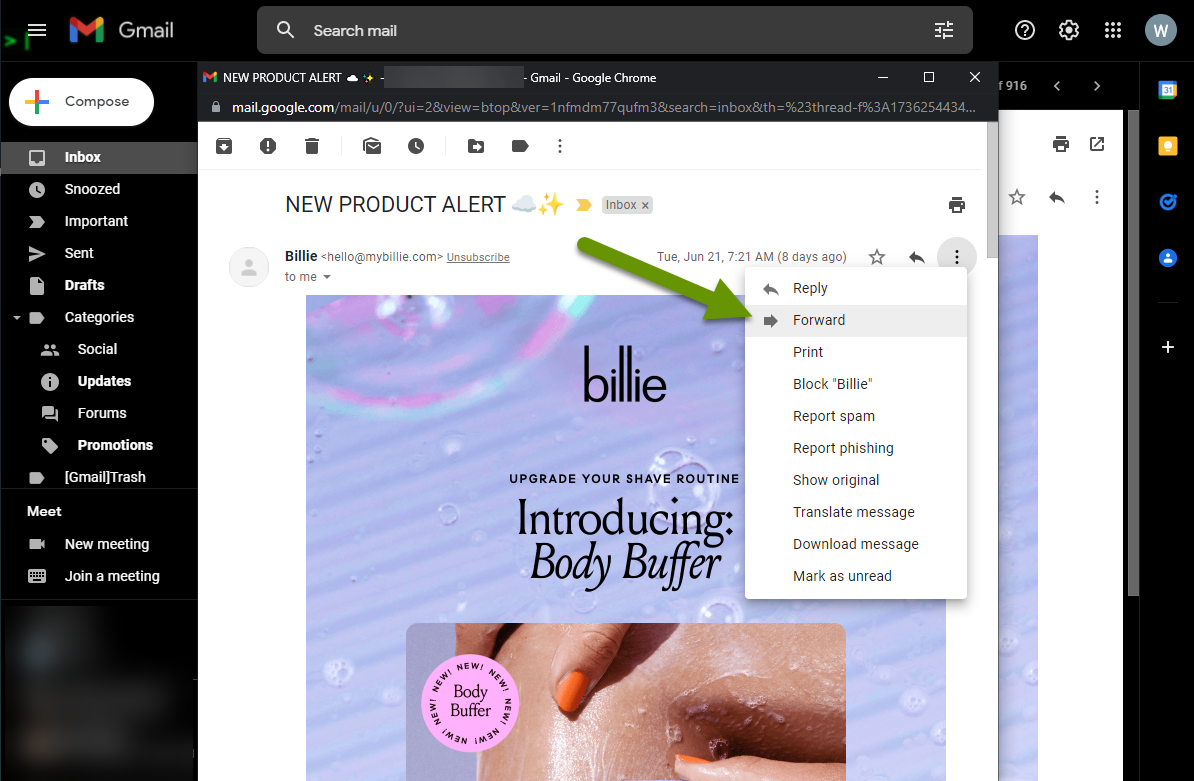
- Open the email you want to edit. NOTE: Be sure to open it in its own window.
- Click the three-dot menu and select forward the email.
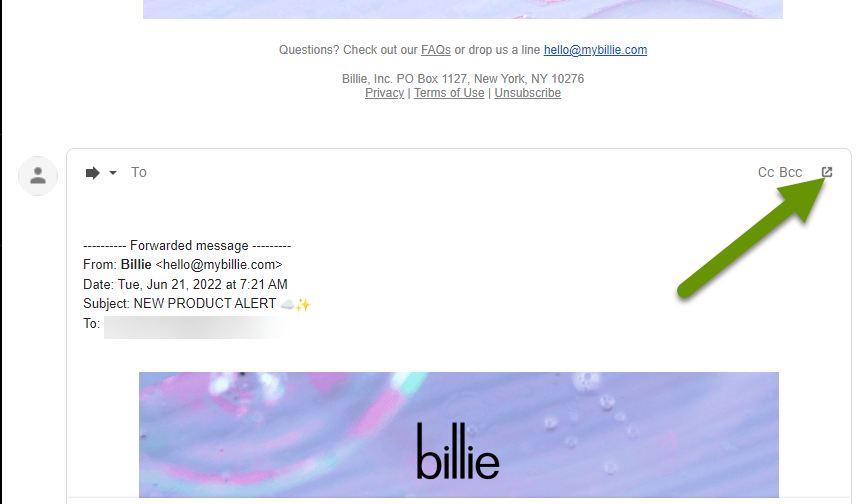
- Scroll down in the new window to the new message portion.
- Click the button in the upper right corner to pop out the reply.
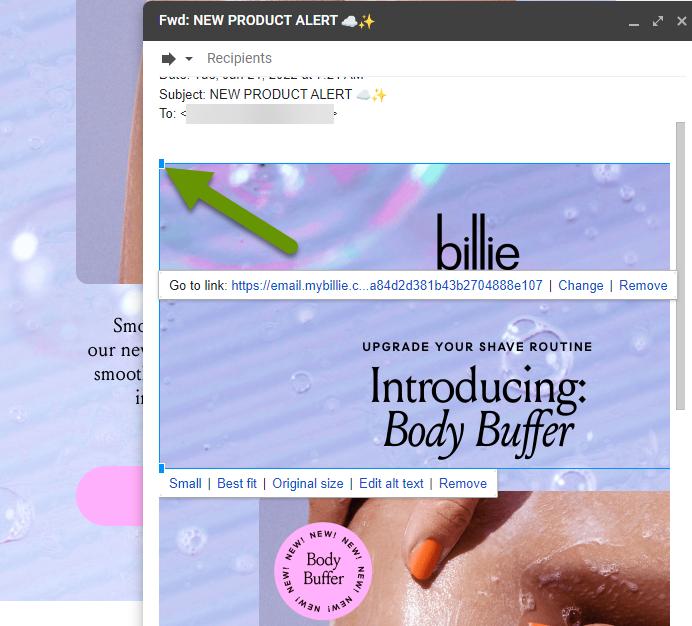
- Scroll through the message until you find an element you want to remove.
- Click on the item or image to remove. This places a dotted line around the item.
- Click the delete button to remove the item.
- Continue to select and delete items as desired.
- Print the message the way you normally would once you are done editing it.
Using Outlook
To edit pieces out of an email when using Outlook:
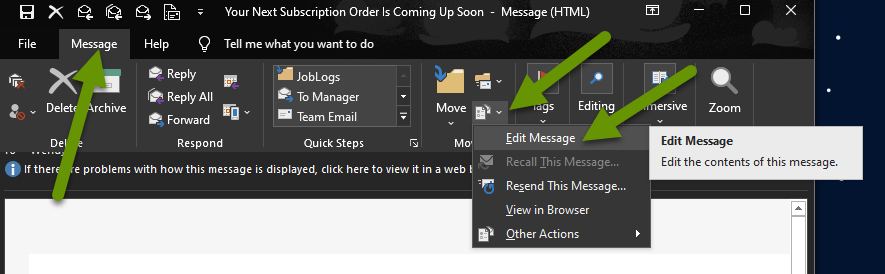
- Open the desired email in its own window.
- Click on the Message tab in the email.
- Click the button to the lower-right of "Move" in the Move section.
- Click "Edit Message" in the pop out menu.
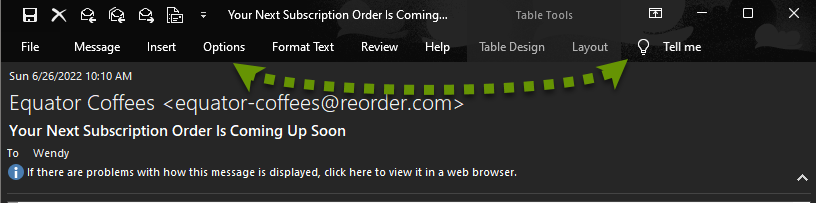
Once you have selected to edit the message, the only discernable difference will be the additional menu items. However, as you scroll through the email message, you will be able to click and select individual elements and delete them as desired.
- Scroll through the message until you find an element you want to remove.
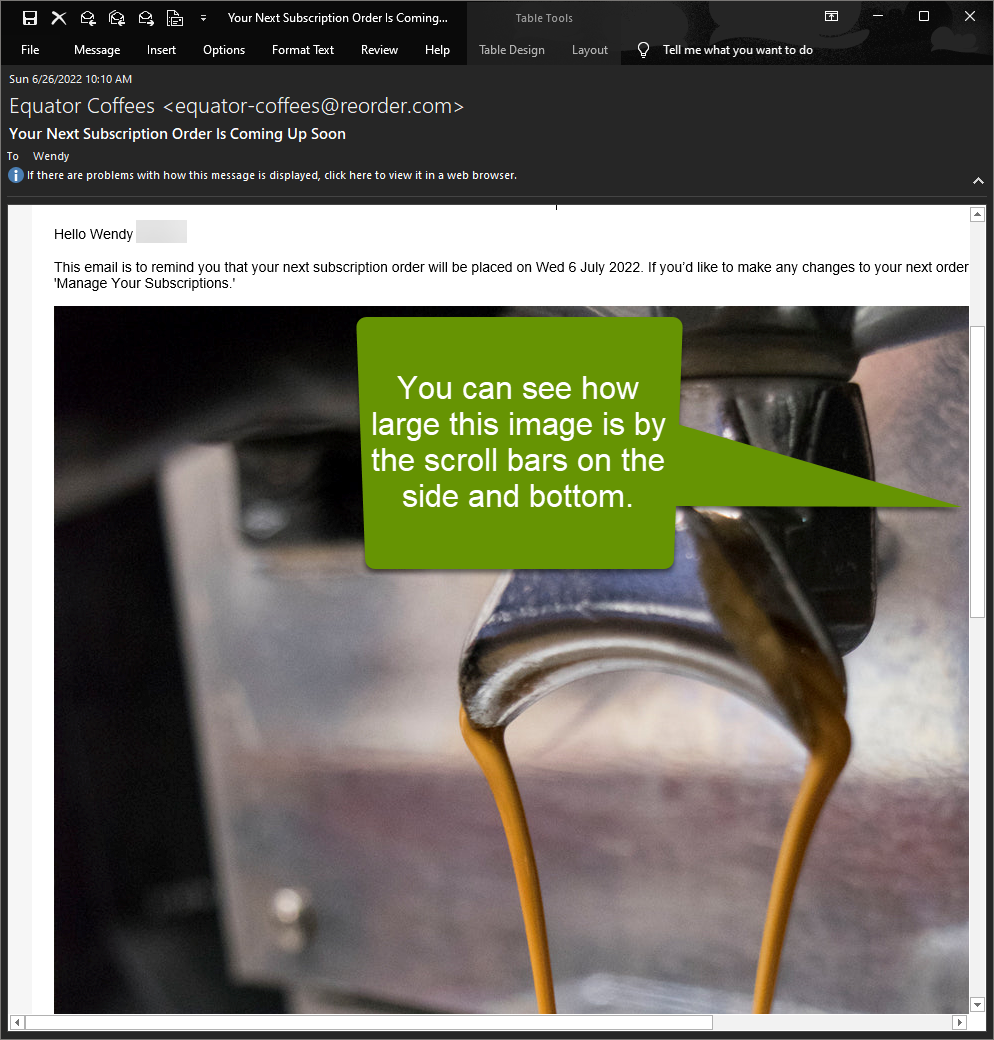
- Click on the item you want to remove. This will place a thin dotted line around the item.
- Click the delete button to remove the item.
- Continue to select and delete items as desired.
- Print the message the way you normally would once you are done editing it.
Printing emails might not be something you do all the time, however, there are times when it is necessary to have a physical copy of something, including an email. When this is the case, it is nice to know you can easily edit items, like emails, that often include embedded tables and images. There is no need to print unnecessary content when the content in an email can quickly be edited.
As always, knowing how to customize items to your unique needs saves frustration, and in this case, saves money spent on printing!