
How to Log into a Remote Computer When the Normal Login Screen is Missing

Remote desktop connection is a feature in Windows that allows you to connect to other devices over the internet and use them as if you were physically in front of them even when you are somewhere else. Unfortunately, sometimes when you connect to the remote computer, there is no login box or previous user listed on the screen for you to use to log into the device.
This post discusses how to log into a remote computer when the normal login screen is missing.
How to Log into a Remote Computer When the Normal Login Screen is Missing
If you connect to a remote computer and there does not appear to be a way to log into it, there is still a way to get logged in to the computer without rebooting either the local or remote device.
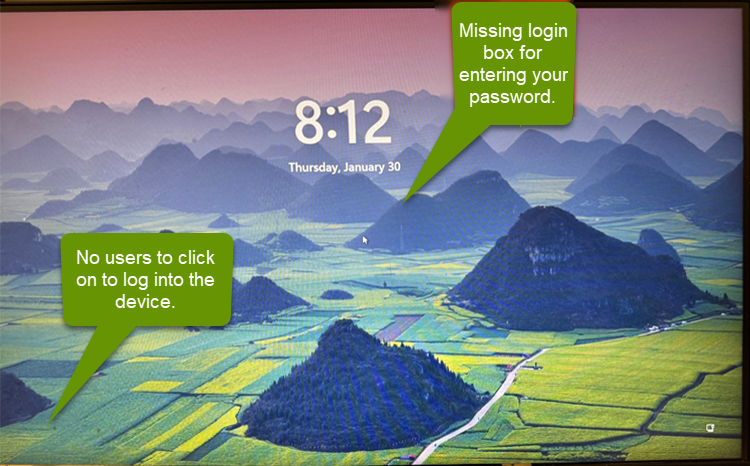
An example of connecting to a remote computer and having the screen missing all the login info looks like this:
To get logged into the remote device
- Disconnect from the remote desktop by closing the remote connection.
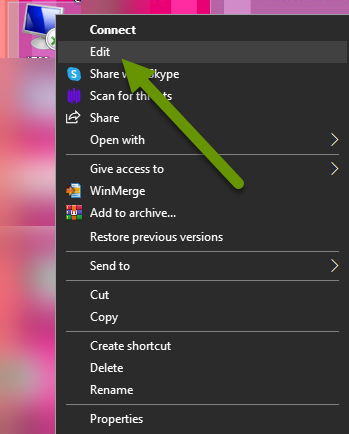
- Right-click on the remote desktop connection icon and select "Edit" from the pop-out menu.
- On the General tab of the Remote Destop Connection settings box, click on the "delete" button under the "Logon settings" section. The delete button is located in the sentence "Saved credentials will be used to connect to this computer. You can edit or delete these credentials."

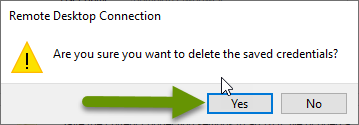
- When prompted, click yes to delete the saved credentials.
- Click the "Connect" button to connect to the remote desktop again.
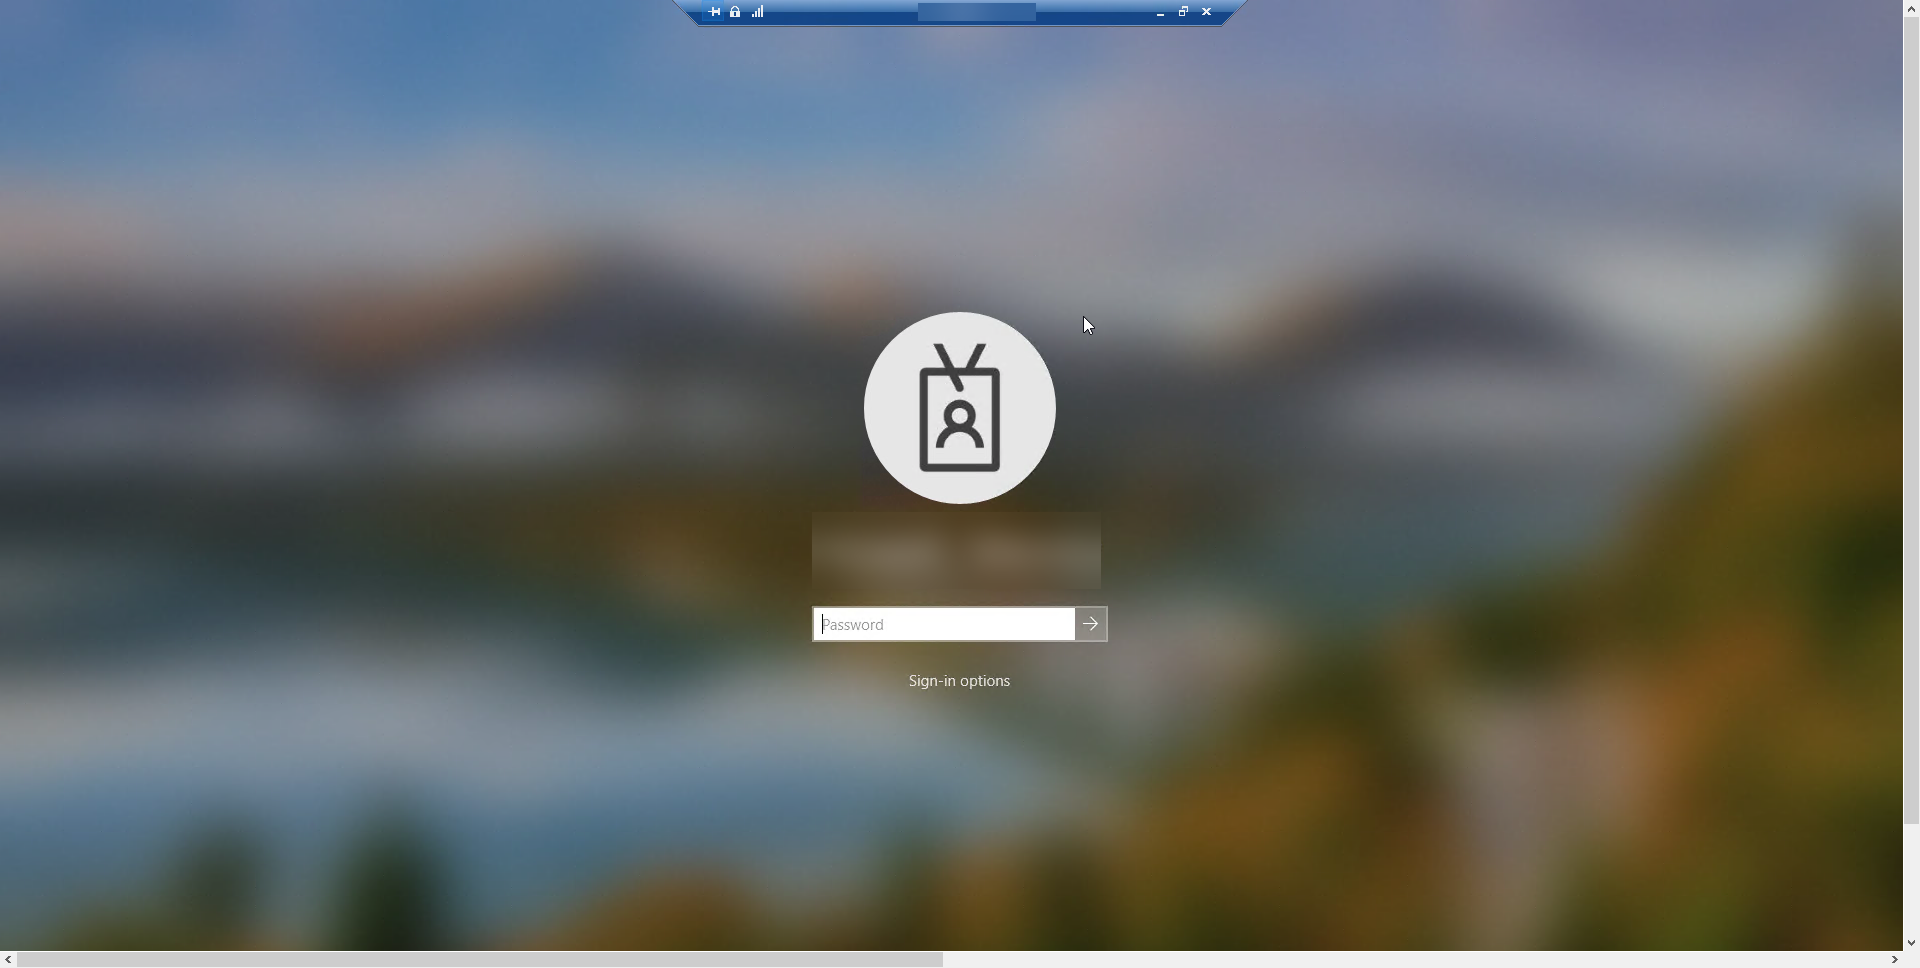
- This should give you a standard remote desktop login screen.
Although it should not happen, sometimes saving your credentials in a remote desktop connection can become corrupted. When this happens, you will not see the normal desktop login box or the recent users listed in the lower left corner. This makes it seem impossible to login to that device. However, if you edit the remote desktop connection and delete the saved credentials, you should be prompted with the standard login the next time you connect.
As always, understanding what is causing the issue allows you to find a workaround for the problem which saves time and prevents frustration!