
How to Add Security so Files Aren't Modified / Opened by the Wrong User

Last week's post discussed how to fix an error with Adobe Reader and included reasons why sending a file in .pdf format is helpful. Some reasons were to maintain the original formatting and keep users from making changes. This week, we are expanding upon the idea of managing changes by adding security to files. This can include controlling who can open, print, and modify files.
This post covers how to add security to Adobe .pdf and Microsoft files to prevent them from being modified or accessed by the wrong user.
How to Add Security so Files Aren't Modified / Opened by the Wrong User
There are two main types of security that can be added to files:
- Accessibility - the ability to open the file.
- Changeability - the ability to modify the file.
If security is added to files, you can prevent the file from being opened and/or modified by unauthorized users. The different types of protection are managed using different settings within the file. File security, like that covered in this post, is set at the file level.
NOTE: The security discussed in this post is based on files used by individuals. Security for files stored on servers is managed at the folder level and is vastly different.
Keep in mind, if you use a weak password, someone may be able to gain access to the file. Also, a file with modify restrictions may still be able to be modified by means outside of normal use. Someone could use 3rd-party software to edit the document, or use images to overlay parts of the document or something else entirely. The point is, if someone is really motivated to modify a file, they can find a way. It is important to keep in mind that nothing is full-proof, but adding file security is a good step towards protecting any files you share.
Adding security to Adobe files
First, it is important to understand that the ability to add security to Adobe files requires Adobe Acrobat. While Adobe Reader has the option to "Password Protect" a file in the File menu of any open document, it simply redirects you to a webpage to subscribe to Acrobat.
To add security to a file in Adobe Acrobat:
- Open the file in Adobe Acrobat.
- Click on the "File" menu and select "Properties".
- In the Document Properties box, select the "Security" tab.
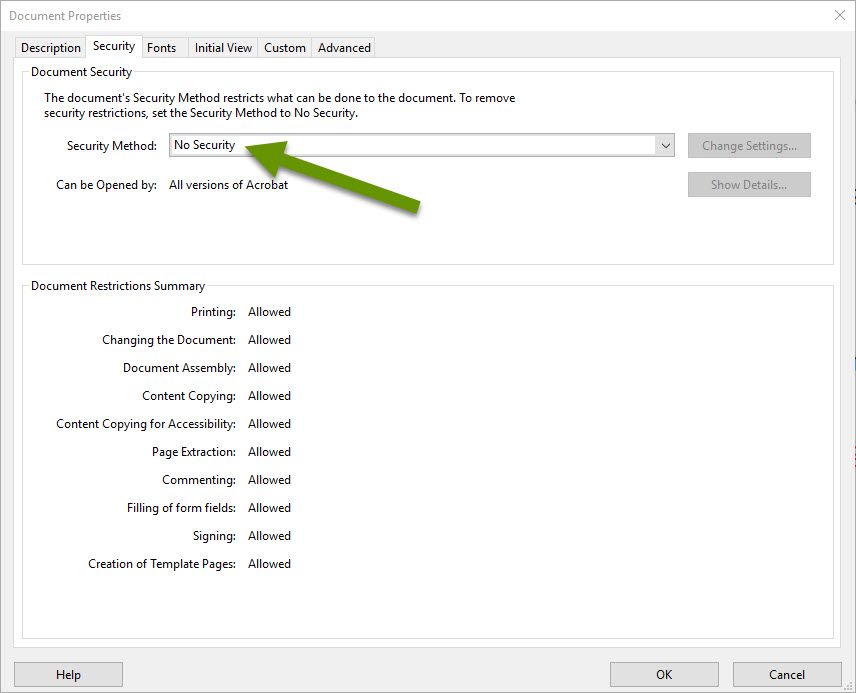
- Click the drop-down menu next to "Security Method:" which defaults to "No Security".
- Select "Password Security".
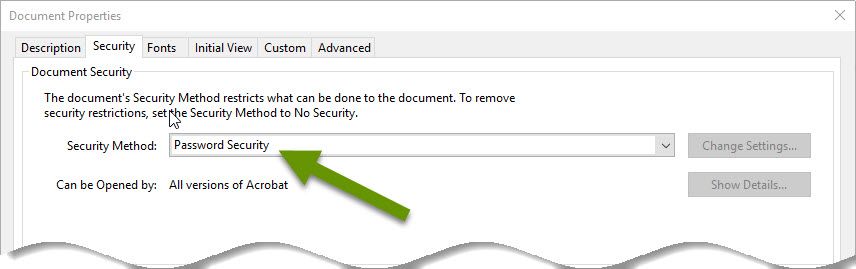
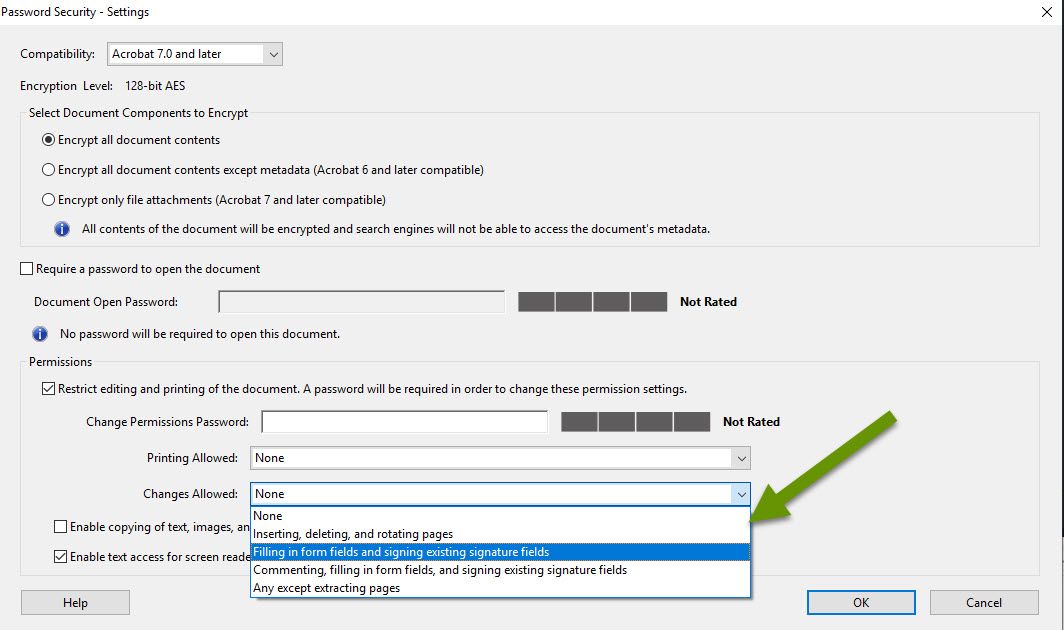
This opens the Password Security - Settings box for the document.
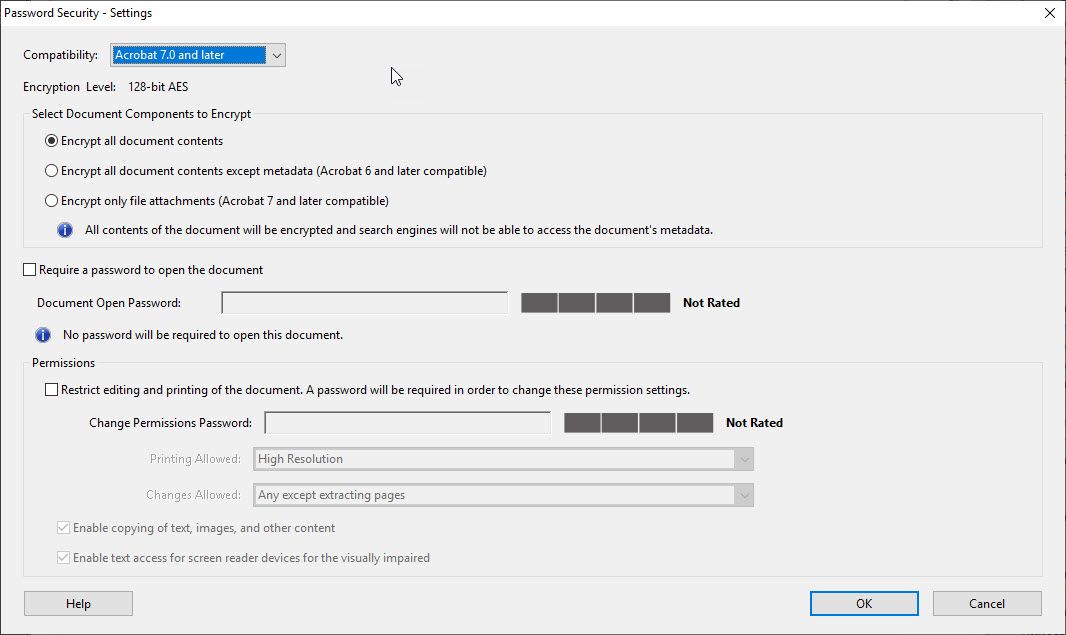
In the Password Security - Settings box, modify any of the following settings:
- Compatibility - select which version of Adobe you want to be backward compatible with.
- The components to encrypt - this can be all of the document contents, everything except the metadata or only file attachments.
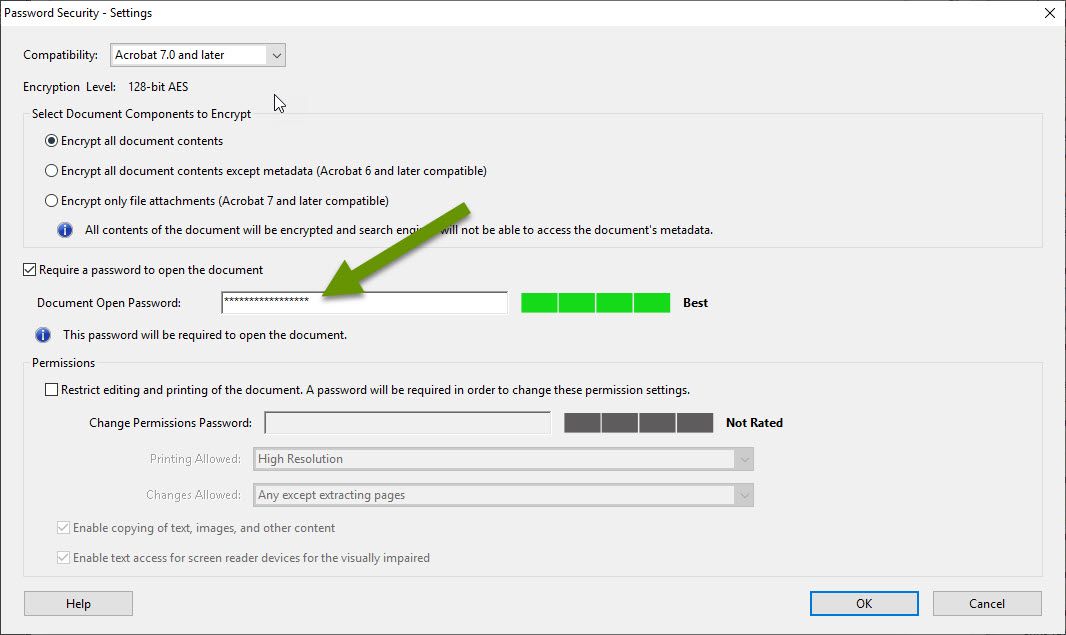
- Require a password to open the document - this is how you can prevent unauthorized users from opening the document. If you select this, be sure to set a strong document open password.
- Restrict editing and printing of the document - this is how you can prevent users from changing the document or printing it even if they have access to open the document. If you select this, be sure to set a strong change permission password and choose from the available options for printing and making changes in their respective drop-down menus.

- Click "OK" to save the settings and close the password security settings window.
- Click "OK" to close the document properties window.
- Test opening, printing or modifying the document based on the permissions you set to verify it works as expected.
Adding security to Microsoft files
To add security to a file in Microsoft Office:
- Open the file in a Microsoft Office program. In this example I am using Word.
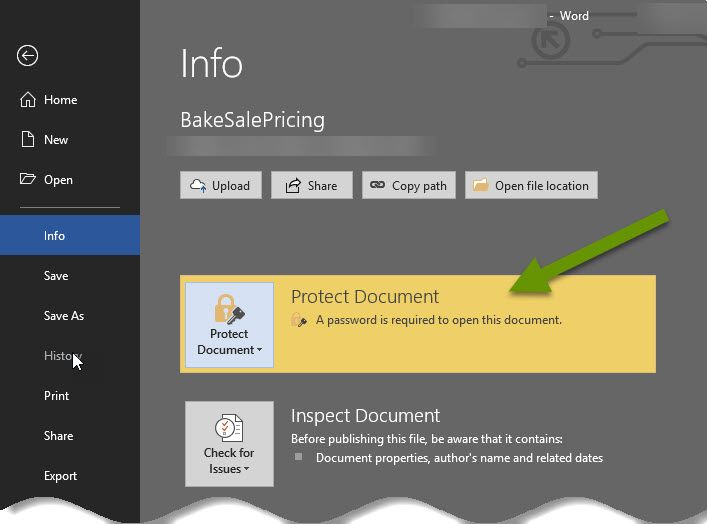
- Click "File" in the upper menu then select "Info".
- Click the box that says "Protect Document".
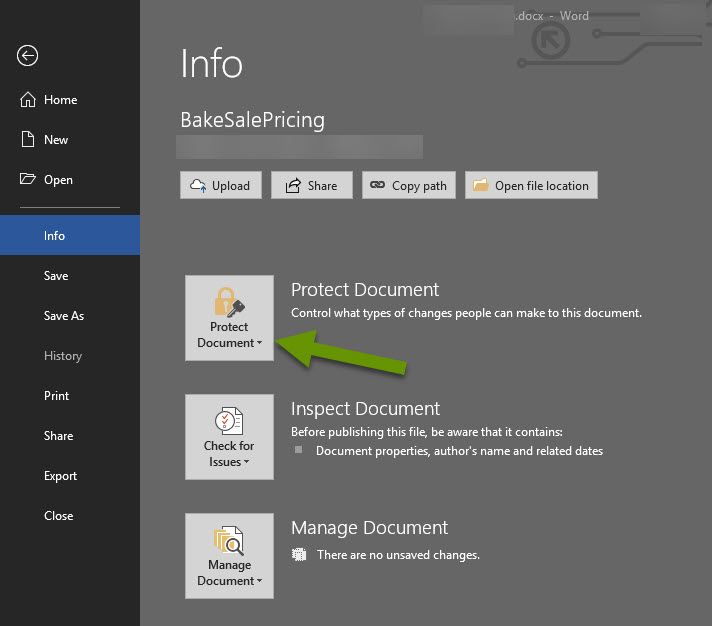
- This brings up a menu of options to choose from.
To require a password to open the document, configure password protection using the steps below:
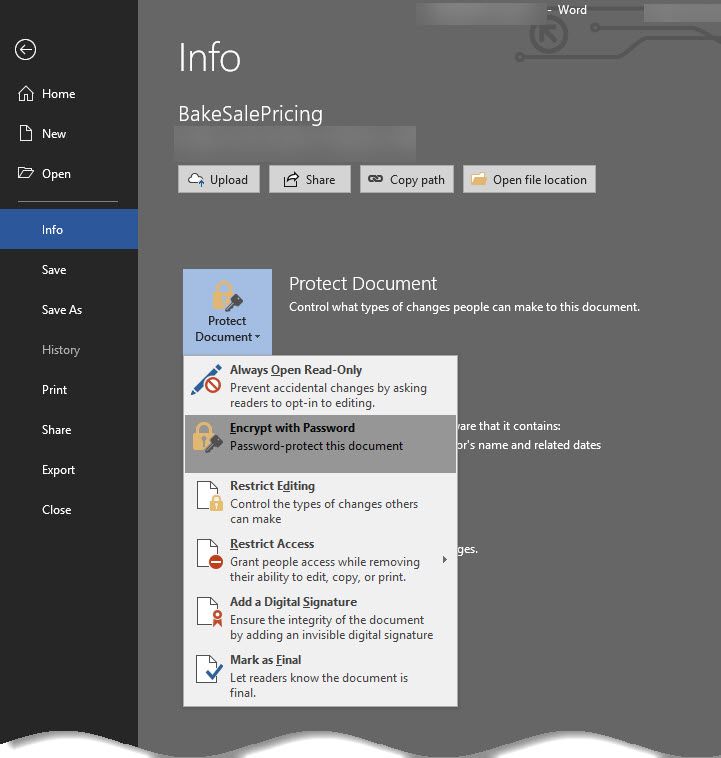
- In the Protect Document drop-down, select the "Encrypt with Password" option.
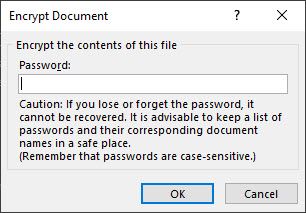
- When prompted, enter a password to open the document and click "OK".
- Re-enter the password and click "OK".
- Once the password has been saved, the protect document section shows up highlighted with text explaining it is password protected.
To restrict who can modify the document, configure the restrict editing settings using the steps below:
- In the Protect Document drop-down, select the "Restrict Editing" option.
- Choose from the settings that appear as a column in the right area of the document.
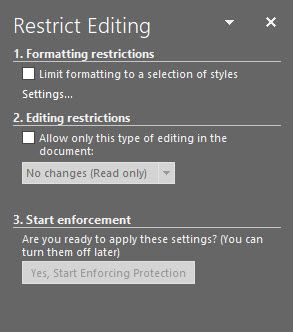
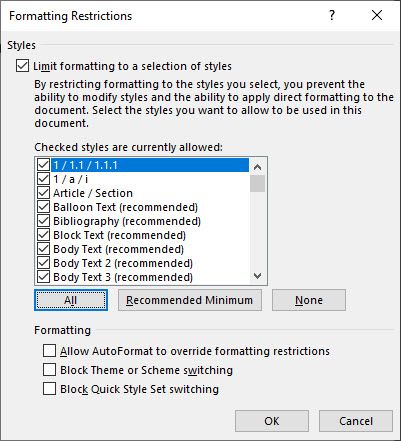
- Check the box next to "Limit formatting to a selection of styles" to limit what formatting styles can be modified. Click the "Settings..." link under this setting to see and/or set exactly what is being limited.
Note: This setting has more to do with formatting than content.
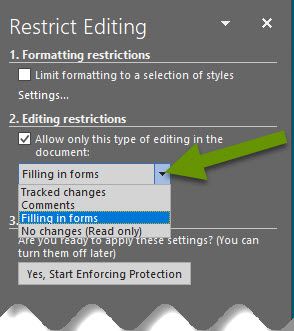
- To control document editing, check the box next to "Allow only this type of editing in the document" under the Editing restrictions section.
- Click the drop-down menu to set the editing restriction.
- Click the "Yes, Start Enforcing Protection" box to save the changes.
- If the document is not already password protected, you will be prompted to enter and re-enter an optional password to protect the document.
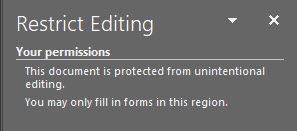
- Once the setting has been saved, the Restrict Editing section shows the document is protected. In this example I did not set a password, but generally a password should be set to control editing.
- Test opening or modifying the document based on the permissions you set to verify it works as expected.
There are several ways to add security to documents. The security settings discussed in this post include the ability to open, print, or modify a document. These security settings are applied on an individual file basis. Enabling document protection can be done within minutes, but it is important to always verify the document is protected the way you think it is once you make these changes. Double checking before sending the file is definitely worth the extra couple of minutes.
As always, controlling who has access to what files and who can make changes will save time and frustration!